Green Screen Guide: Top Tips and Best Practices
When recording yourself in a video, the background of that video is something you need to take into consideration. In some cases, you’ll be able to find the perfect location to shoot, with a natural background that is ideal for your needs. But that’s not always going to be the case and traveling to the right locations can be expensive and time-consuming.
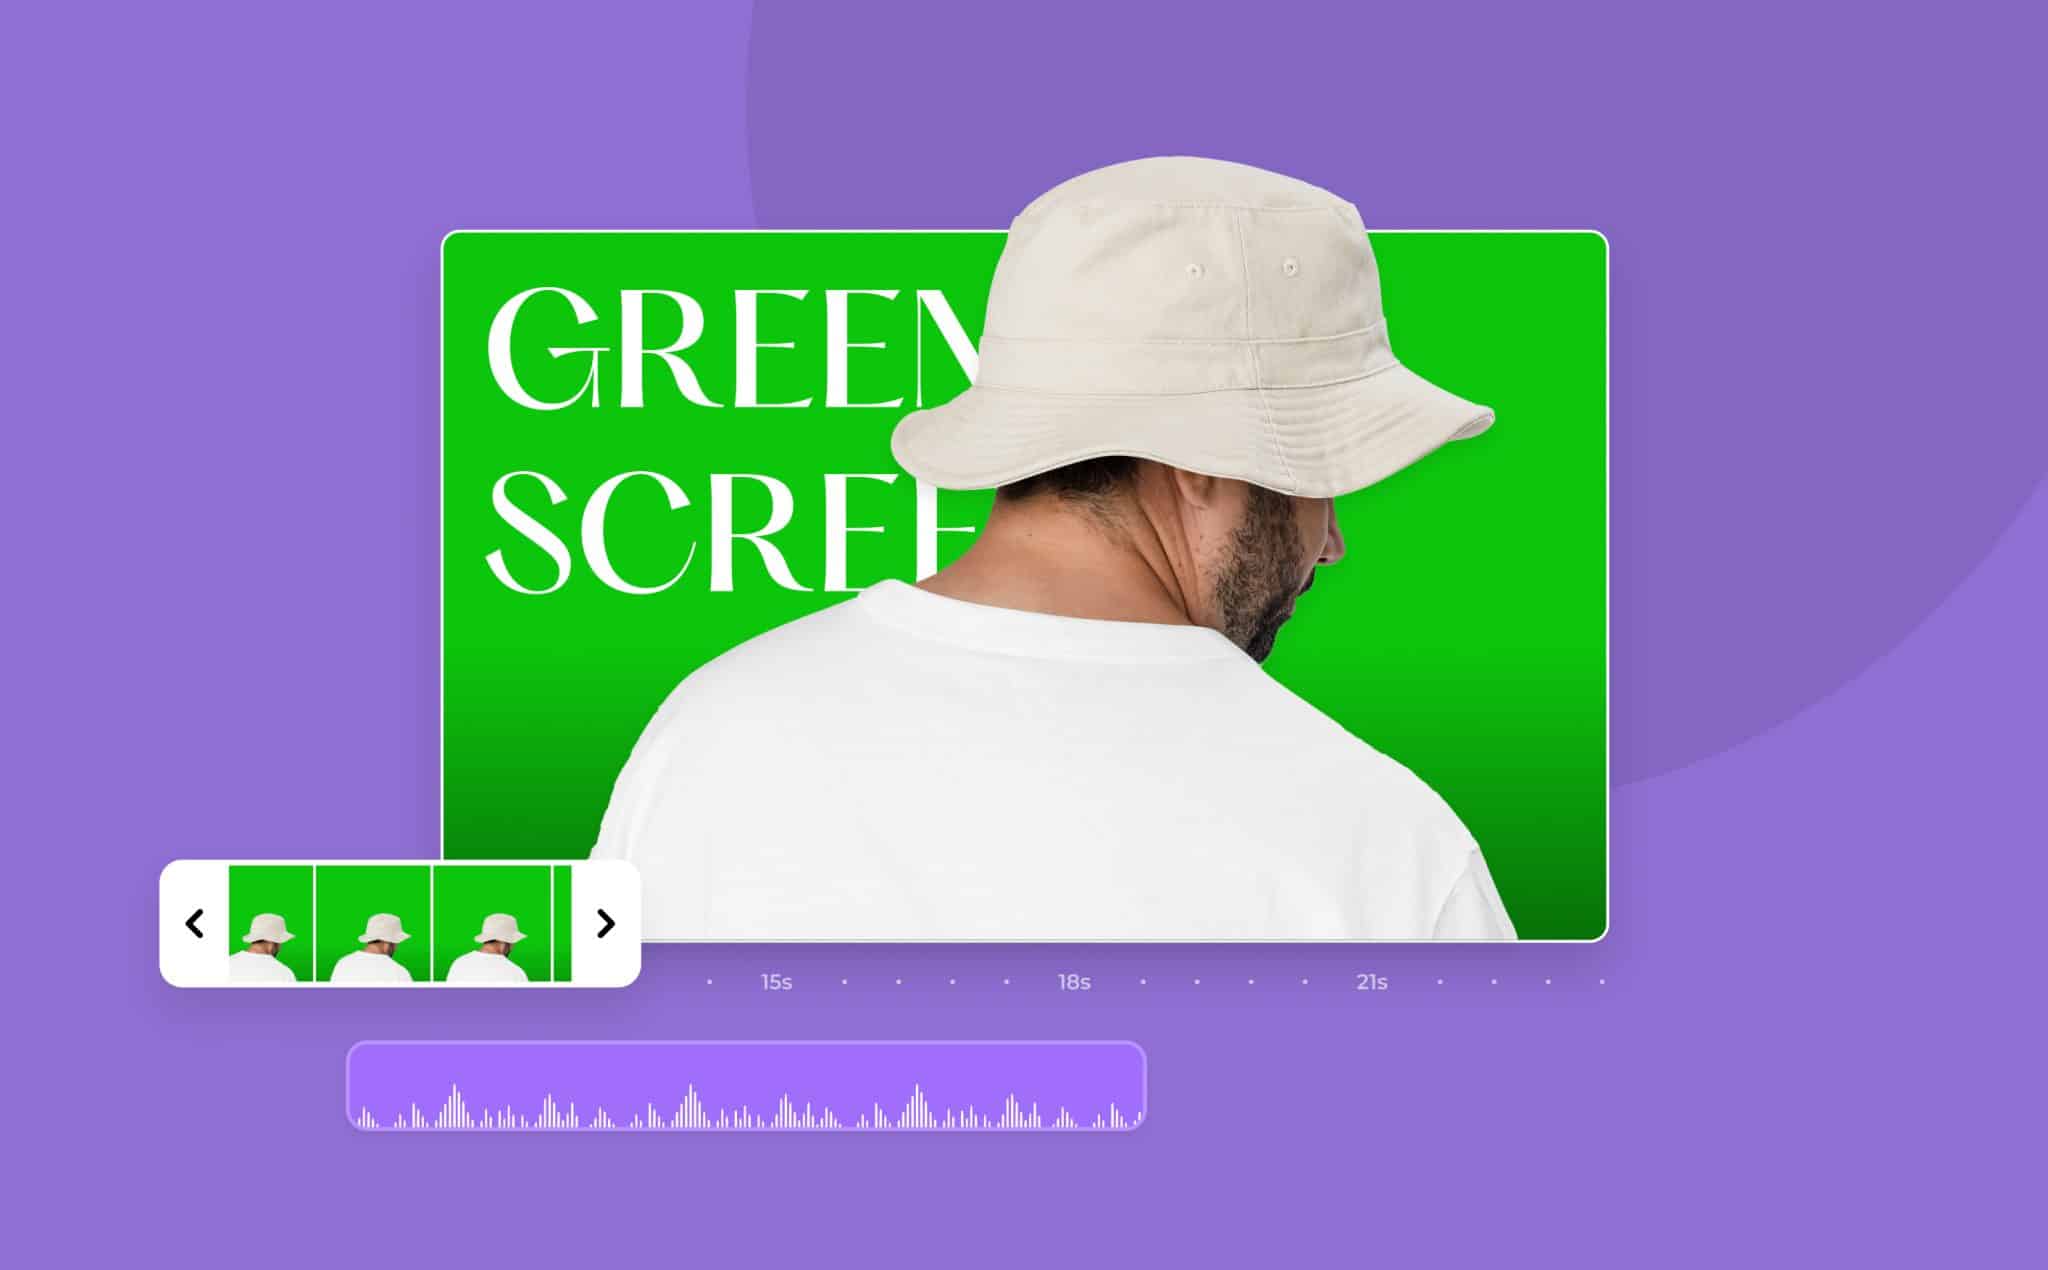
Enter the green screen. Through the use of a green screen for your background, and green screen apps to edit your video, you can transform the background of your video into nearly anything you can imagine. From a basic solid color to an image or even a video, the sky is the limit when working with a quality green screen. With this article, we’ll dive into what you need to understand about how green screens work and why you should consider adding one to your video production process.
First Things First: What is a Green Screen?
This is a case where the name really says it all – a green screen is any type of background screen, typically green in color, that is used when capturing video. While the name “green screen” is ubiquitous at this point, it is possible for other colors to be used, such as blue. However, if you are going to put this technique to use for your videos, it’s likely that the screen you purchase will, in fact, be green.
Investing in a Green Screen
To use a green screen for your videos, you will need to make an investment.
The cost of that investment can vary greatly based on the size and quality of the screen that you would like to purchase. If you are just getting started and are on a tight budget, a small screen can be had for less than $50. Of course, you’ll be sacrificing on quality at that price point, so spending a few hundred dollars or more on a premium product may be appropriate if your budget supports such a purchase.
You should consider this financial investment because of the significant boost a green screen can bring to the quality of your videos. If video content is a big part of what you do on the web, investing in production values is important. Think of it this way – if you don’t invest in your videos, it may be hard to keep up with competitors who are willing to make such an investment.
What is Chroma Key
While it might sound a bit confusing, the chroma key process – often called chroma keying – is relatively straightforward and the other side of the green screen equation. The idea behind using a green screen is to remove a specific color from the shot in order to replace that space with something else. So, the shade of green that is used for the green screen will be keyed out of the shot, and whatever background image or video that is desired can then be added. Using a chroma key will let you substitute in some desired graphics for the green screen space in the post-production process.
Benefits of Using a Green Screen
Saying that the use of a green screen will make your videos “better” is a good start, but it’s a little bit vague. What do we mean by “better”, exactly? Let’s get into the specifics of how green screen effects can improve your videos and what that will look like in real-world applications.
Benefit #1 – Cut in Production Cost
Bringing down your production costs is one of the primary advantages of using a green screen. Yes, you’ll have to spend some money upfront to purchase one of these screens, but that investment should quickly be returned as some of the other costs associated with shooting videos comes down. For example, if you can shoot most or all of your videos in one central location, rather than taking time to travel to different places for various backgrounds, there will be savings connected to lower transportation costs, paying fees to shoot in certain locations, and more. Basically, you’ll be bringing the location to you in the form of a green screen, so your overall production costs should fall significantly.
Benefit #2 – Freedom to Create
Having the freedom to create whatever it is you can dream up is a huge advantage associated with green screens. If you don’t have a green screen and you can only use as a background whatever is available to you in the real world, there will be strict limitations placed on your creativity. For example, what if you want to shoot a video that is set in the desert, but you are located in a cold northern climate with trees all around? You’d either need to spend thousands of dollars to travel to the right climate, or you would have to toss out the idea entirely. With the green screen, there is a third choice – bring the location to you and let your creativity run wild.

Benefit #3 – Expand Your Video Production Reach
This point goes along with the previous idea of creative freedom, but it is more specifically highlights your ability to reach a bigger audience. With the whole world of digitally-created backgrounds at your disposal, every potential market and genre is within reach. Do you feel like your videos to this point have been stuck in a rut, only able to reach so far before they bump into their natural limitations based on location? Remove those barriers with a green screen and present your content to a whole new segment of the market.
Benefit #4 – Reduce Production Time
Above, we highlighted how using a green screen can save you in terms of production costs. Likewise, using a screen can save you on production time, because you won’t be spending hours – or even days – trying to figure out where you are going to shoot your video and how you are going to get there. Instead, you’ll come up with an idea, develop the full plan for the video, and record it in front of your screen right away. After a bit of keying work to finish up the process – more on that later – your new video will be ready to go. By shortening the content development process, you can publish more content for your audience, and that kind of prolific schedule will hopefully be rewarded with greater results.
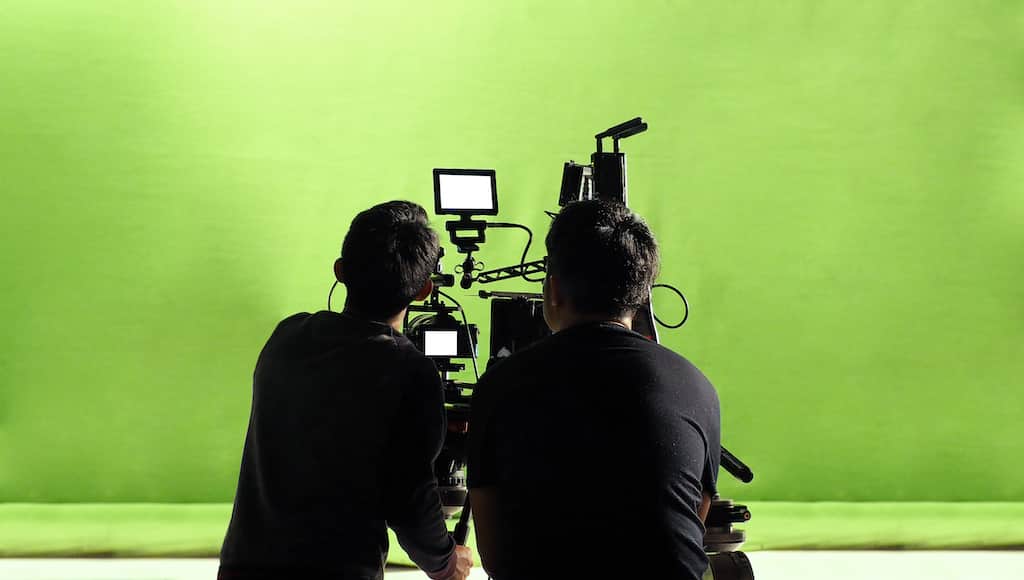
Benefit #5 – Provides Consistency in Content Production
Lastly, with a green screen on your side, you can get more consistent with how often you publish content – and that’s another important element of growing and nurturing an audience. It’s important to publish on a predictable schedule so your audience will know when to expect a new video. By taking control over your setting and having the ability to create every different possible background with some quick editing, there will be fewer variables to manage and you should be able to stick to a regular schedule.
How to Use a Green Screen
Even if you are fully convinced of the power of what a green screen can do for your business, you might be a little overwhelmed by the thought of actually using one in the video production process. Most people have never used a green screen, and it seems like the kind of thing that is used in television and movies by experienced professionals.
On this point, we have good news – learning how to use a green screen is not a difficult process. Once you understand the basics of using a green screen and you understand some key mistakes to avoid, you’ll be off and running.
1. Set Up Your Green Screen
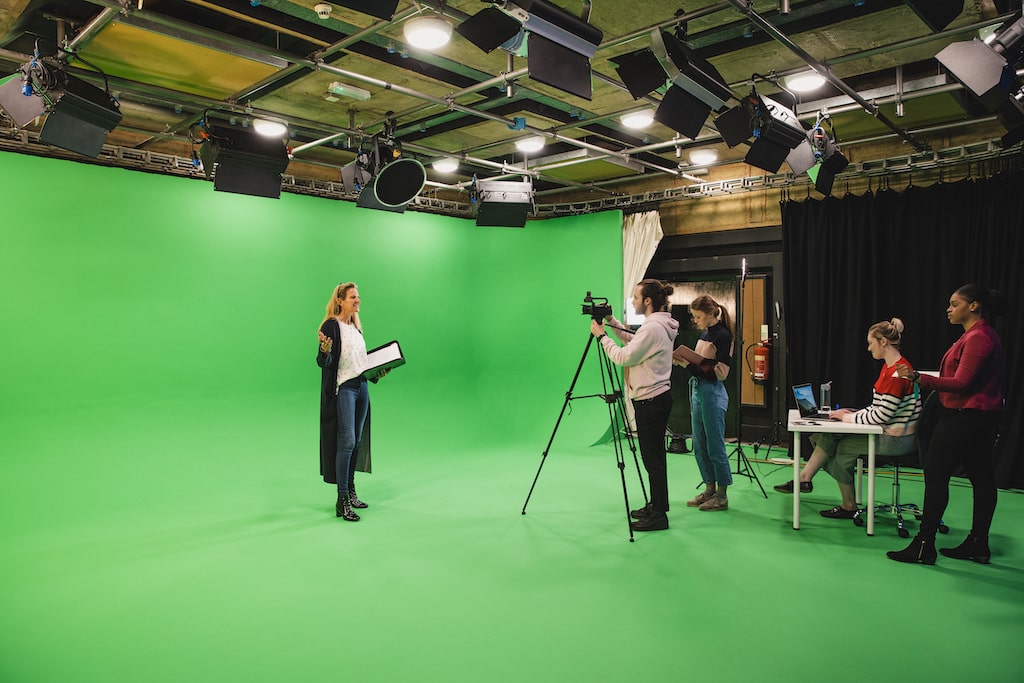
Setting up your new green screen is one of the last steps before shooting your first video and seeing what this useful piece of equipment can do for your digital endeavors. While it’s certainly possible to take up and take down your green screen for each video shoot, it would be best if you can find a place to leave this set up for regular use. That will streamline your process and make it more likely that you can avoid damaging the screen over the long run. As you work on the setup process, keep these three keys in mind –
Leave Room for Movement
You don’t want your green screen to impede the performance of those in the video. So, if you have a scene planned with plenty of physical movement in front of the screen, be sure to have enough room available for everyone to move safely without going out of the shot or running into the screen itself. As you are preparing to shoot, keep in mind the background images you want behind the actors or the foreground and make sure everyone is positioned appropriately. With some practice, both those planning the videos and those performing should get more and more comfortable working with the green screen.
Leave No Visible Corners
This is a frustrating mistake to make when using a green screen for the first time. In fact, it’s a mistake that can happen even to those with experience in this area. If you leave a corner of your green screen exposed in the video, that corner will cause problems when it’s time for chroma-keying, and you might not get the results you desire in the end. Make sure the edges of your green screen are clean and crisp so the screen will fully disappear when it is edited out later. Before shooting a video, do some quick tests to make sure none of the areas around the edges of the screen are going to cause a problem.
Remove Every Wrinkle from the Screen
A wrinkly screen can give you the same trouble as you’ll run into when you leave a corner visible. The wrinkles in the screen can mess with your chroma keying, since those wrinkles will be an inconsistent color compared to the rest of the screen (they’ll likely appear darker). When the computer does its work of removing everything in the frame that matches the color of the green screen, it may not catch all of those wrinkles and your finished product won’t look as good as it should. Or, at the very least, it will take additional editing work to clean it up correctly.
2. Set Your Lights Properly
Lighting is important for any video. That goes double for a shot that is using a green screen since poor lighting can make it very difficult – and maybe even impossible – to get the right look for your finished video. Here are three quick keys to think about when setting up your lights:
- Separate the screen and the subject. If you are shooting a video with a person talking in front of a green screen, light those two components individually. In other words, light the green screen directly, and also light the subject of your video.
- Use the same lights. Avoid mixing and matching different types of lights, as the tone from those lights is bound to be a little different, and the color balance within your shot will be thrown off.
- Maintain distance. When possible, keep your subject at least several feet away from the green screen backdrop. If the subject is too close, light from the green screen can bleed onto the subject, disrupting the look of the shot.
3. Plan Your Shot
You need to go into any shot that uses a green screen with an understanding of what is going to happen after the video is recorded. In other words, work closely with whoever will be doing post-production work to make sure they have everything they need to polish up the finished product. If you just shoot the video with no regard for post-production, it might be hard to get the effects you had in mind based on mistakes that were made during the shoot.
Full Background
When you want the entire background for the shot to be covered by the green screen, you’ll need to frame the shoot accordingly. If the screen is too narrow, or of the performers move toward the edge of the screen to where the full background is no longer captured within its borders, the background green screen is not going to lead to the results you desired.
Tight Shot
This is one of the easiest setups for a green screen shoot, since there is little risk of straying outside the boundaries of the screen. With that said, small details can stand out in a tight shot, so take care to light everything properly. Also, despite the up-close nature of the shot, you don’t want to let the subject get too close to the screen in the background – be sure to maintain at least a few feet of space for lighting purposes.
Medium Shot
For this type of shot, you are going to be shooting the subject roughly from the waist up. That will still give you plenty of room to work with in front of most green screens, so you shouldn’t have to worry much about problems like catching the corners of the screen in one of your shots. However, you do need to make sure the entire portion of the subject that is captured in the video is lit properly, so experiment with lighting setups before you start to record.
Full Body Shot
A full body shot can be effective for communicating a message that requires some form of physical movement along with the spoken word. The way you’ll use your green screen for this shot depends on whether the subject will be moving or standing still. When staying still, as is often the case, the task is pretty easy – get the lighting right and you’re ready to go. With more movement, you’ll have to be sure to angle your shots to keep the green screen behind the subject, and you’ll need better lighting across the entire space.
Main Subject Placement
Positioning your main subject properly comes down to knowing what you are going to do with the background once the video goes into editing. What will fill the space that was occupied by the green screen during shooting? This is particularly important if you are using a video for the background, or an image with a lot of detail. If your green screen space will simply be replaced by a solid background, or a relatively plain background, the placement of your main subject within that space is not as important.
How to Use Green Screen on TikTok
If you are starting to learn how to use TikTok and you’d like to take your quick videos to a higher level, consider using the green screen capability offered by this social platform. Learning how to green screen on TikTok will give you more creative options, and fortunately, doing so is a quick and easy process. We’ll dive into the details below.
Open TikTok
To get started, simply open the TikTok app on your preferred device. Of course, if you don’t yet have a TikTok account, creating a new account and setting up the basics would be your first order of business. Here at Promo, we even have a purpose-built TikTok video editor to help you create content that is sure to grab attention.
Press the + Sign to Create Your Video
Creating a new video that you will post to your account is as simple as pressing the “+” sign that you see within the TikTok app.
Head Over to the Green Screen Tab
If you want to include the green screen feature for your new video, select the Green Screen tab before doing any recording. What is green screen on TikTok? It’s a feature of this video app that allows you to replace the regular background from your video with various different background options that you can choose from a menu.
Select a Background
Speaking of that menu, it’s now time to pick out the background you want to use for your TikTok.
- Green Screen Image. If you want to use a simple static image behind the video you are going to record, choose from these available backgrounds.
- Green Screen Video. Picking a video instead of a static image won’t be the right choice for every TikTok you record, but it can be perfect in some cases.
- 3D Green Screen Picture. For a particularly attention-grabbing effect, check out the 3D green screen pictures that are available.
Adjust Your Size and Position on the Screen
Before recording, be sure to consider your positioning on the screen so it coordinates properly with the green screen background you have selected. It’s important to note that you don’t actually need a green screen to use this effect – so you can get started right away!
Record Your Footage
It’s time for action – press the record button and capture the content you have in mind for this video. You may have this portion carefully rehearsed for a flawless performance, or you might plan to be spontaneous and see what happens once the camera turns on.
Customize Your TikTok
Once you are happy with the recording you have captured, use some of the other fun TikTok features to add customizations like on-screen text, voice-over audio, various filters, and more.
Share Your TikTok
With all the work done, it’s time for the fun part – share your creation with the world! Not sure which platform should be getting most of your time and attention in 2022? Check out this post on TikTok vs YouTube and how they can serve your goals in the coming year.
Frequently Asked Questions
How to Do Green Screen on TikTok with Multiple Pictures?
It’s simple enough to use multiple pictures on a TikTok video. To do so, use the green screen feature like normal and start recording your video. Then, partway through the recording, tap the record button to pause. While paused, you can change your background to a new photo, then continue on to the rest of the video. This might feel a little awkward at first, but you’ll learn how to incorporate this switch into your videos without any trouble.
How to Use Green Screen Video on TikTok with Multiple Videos?
The method you need to use to feature multiple green screen videos within a single TikTok video is the same as you’d use with pictures. Once you start recording a video where you are using a background video for a green screen effect, pause the recording when you want to switch to a new background. Select the new video you want to add to the background, then resume your recording to finish the TikTok.
How to Make a Green Screen Slideshow on TikTok?
Making a slideshow with the green screen feature on TikTok comes down to stopping and starting your video recording over and over to continually change the background. Each time you pause your recording, you can select a new background image, and then you can continue recording. Do this repeatedly to create a background slideshow effect within your video. Of course, it will take longer to record a video this way, but it could be worth the effort if you are able to create exactly what you have in mind.
What Will You Create?
Perhaps the greatest thing about using a green screen is the creative opportunities it presents. Rather than being limited by the actual background in the location where you shoot your video, you can use a green screen to turn that background into virtually anything you need to bring your vision to life. And, with the tools and resources available here at Promo, that vision is closer to reality than ever before. Get started today!

