How to create your first LinkedIn ad
LinkedIn is a great professional resource that often gets overlooked when we think about advertising platforms. We may be used to the idea of using social media to run ads, but right under our noses is a fantastic community filled with a unique audience of potential b2b customers.
Advertising on LinkedIn is the next step in not only furthering your reach in achieving those b2b connections you’ve been working to cultivate but in making them stronger. Learning how to create a LinkedIn ad is where this process begins.
Getting started is simple. We’ll take you through the motions of not only making your LinkedIn ad, but also help you understand each selection as it corresponds to your ad goals.
Let’s begin!
Set up your campaign
The first step in getting started is to go to the LinkedIn Marketing Solutions page and click “Create Ad.” Here you’ll sign in, or create a LinkedIn Campaign Manager account if you haven’t yet.
LinkedIn’s Campaign Manager divides the ad making process into two parts. First is the campaign set up, followed by the actual ad creation. This guide will go through the steps in the same order you’ll be taken through them in the Campaign Manager.
Once you are in the Campaign Manager, the first step in setting up a campaign is to click the blue “Create campaign” button on the top left.

Objective selection
When creating a campaign, you’ll be immediately prompted to select an ad campaign objective or goal. Think hard about what you hope to achieve by running a LinkedIn ad. Identifying your objective will allow you to understand whether your ad has succeeded, and help you to better make adjustments and improvements as you move forward.
Here are the objectives that LinkedIn offers:
Website visits – Are you trying to drive more traffic to your homepage or landing pages? If you are looking for an increase in visits, this is the objective to select.
Engagement – Are you trying to get more interaction from your followers and target audience? This includes any audience reaction including liking statuses or posts, leaving comments, and sharing your ads.
Video views – Are you trying to increase your video exposure and get more of your audience to watch and engage with your videos? This objective is similar to the ‘engagement’ objective but directed specifically at video engagement.
Lead generation – is your goal to get your audience to fill out a form? LinkedIn will provide a lead generation form to users who are most likely to provide their information; often an email address or other personal information.
Shortly, LinkedIn will add the objectives of Brand awareness, Website conversions, Talent leads, and Job applicants.

Audience
In the ‘audience’ section of your campaign setup, you’ll have the opportunity to tailor the criteria for your ad’s optimal target audience. If your audience is clearly defined, your ad has a better shot of meeting its goal, or campaign objective that you initially selected.
The audience targeting categories include:
Language – The profile language of the users you are including in your target audience. If your audience resides in North America, select English.
Location – The geographical region in which the users you are targeting reside. You can target your audience by city, state, and even zip code. In the example below, you can see we’ve selected English as the language and North America as the location.
“Add new targeting criteria” at the bottom of the audience page gives you the opportunity to target specific companies within the LinkedIn platform, as well as more definitive
Demographics – These include gender and age group
Education – The educational background of your target audience. This can be a good option if you want to target users with the same degree or of the same alumni group.
Job experience – Here you can target users with the same skill set, professional job title or role, as well as years within those titles or roles.
Interests – Here you can target users who are part of the same LinkedIn groups or follow the same professional topics.
Really consider who your ad is for. If you have a small business that caters to a clientele of a certain age range, who are typically comprised of mid level employees, you can make sure to shape your targeting parameters to go after this exact audience.
LinkedIn has also recently added new targeting tools. The ‘Lookalike audience’ option lets users tell LinkedIn to fashion a new, similar target audience for them. This lookalike audience is based on the traits of your existing audience, but targets new professionals you may be overlooking.
The ‘Audience templates’ option provides you with 20 b2b audience networks based on certain characteristics of your choosing. This can be a good option for beginners because it can accelerate the set up process.

Ad format
Next, you need to choose your ad format. There are multiple kinds of ads you can select from and create:
Text ads
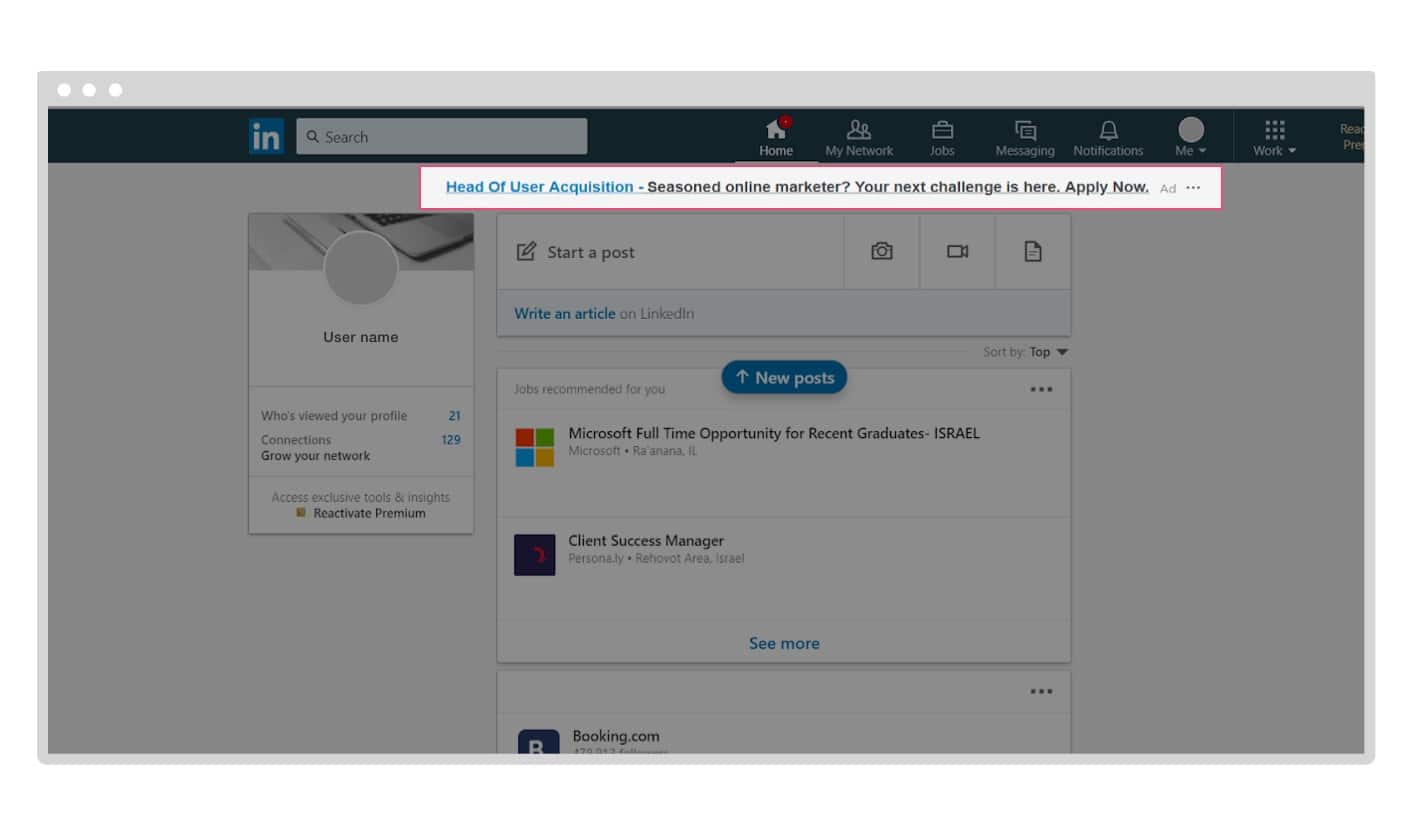
Usually the most affordable ad format, text ads appear on the top of the page when you are in the news feed, and only comprise of text. This kind of ad looks like a thin strip with a clickable CTA (call to action) and a small grey indicator marking it “Ad.”
Single image ads
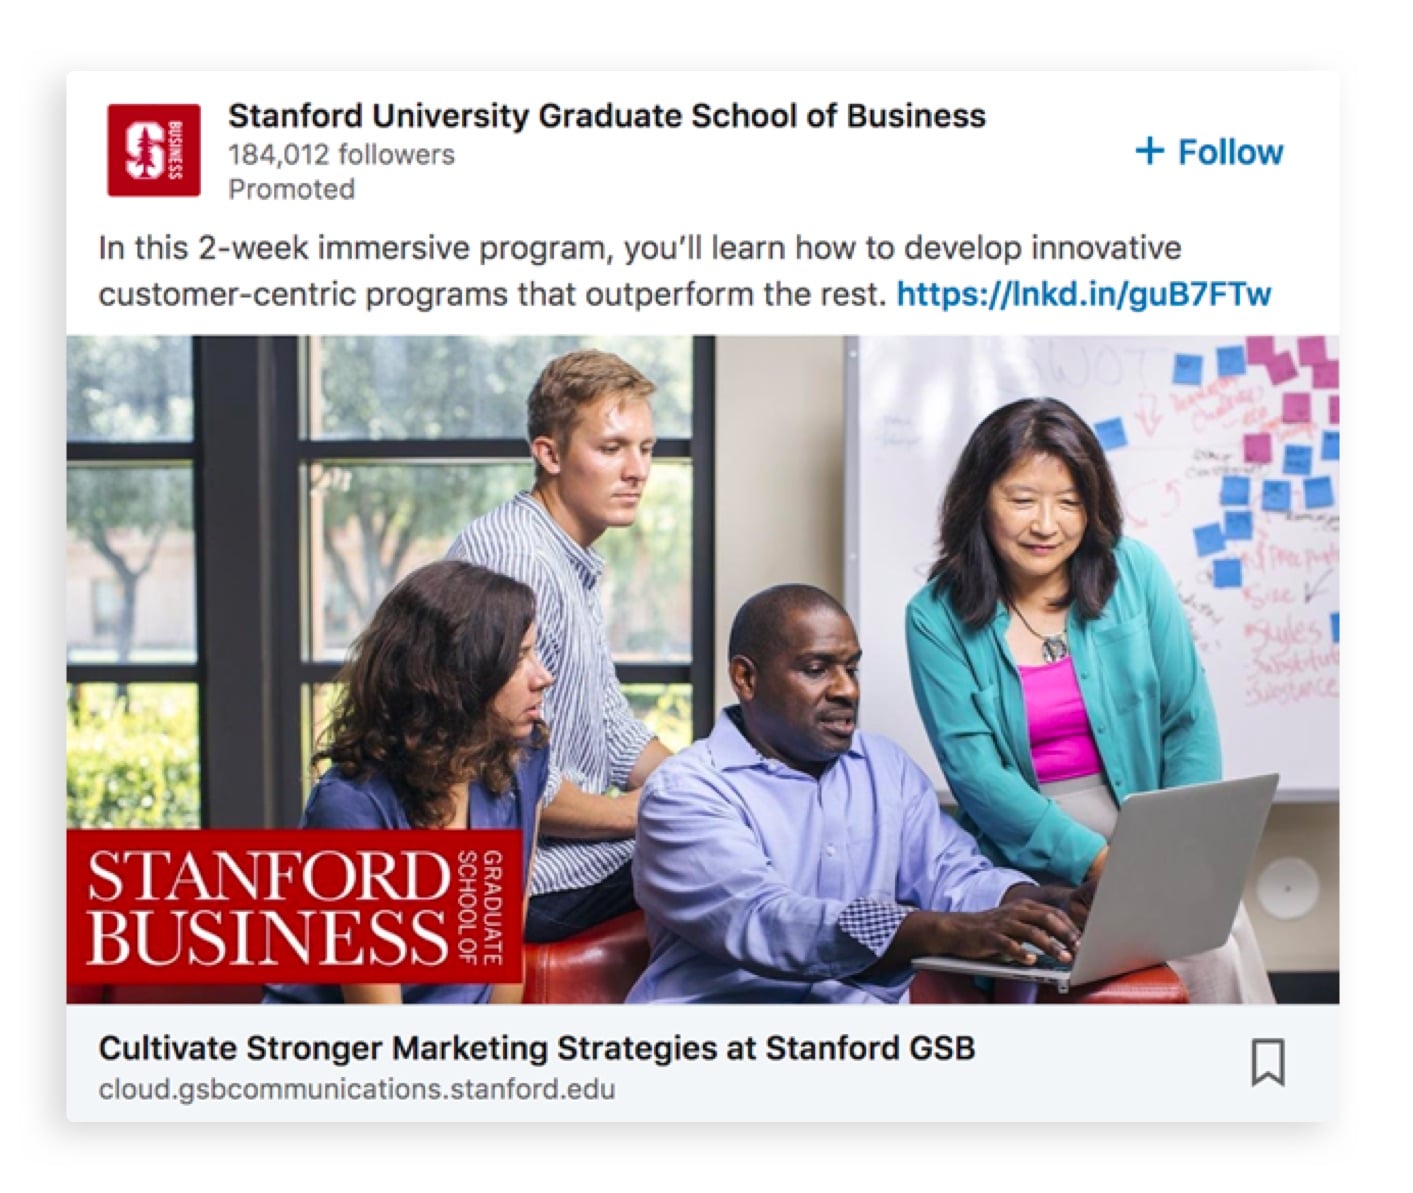
Single image ads are made up of only one image and appear in the news feed. You can see that this ad contains sponsored content because it says “Promoted” in gray at the top.
Carousel ads
Carousel ads are made up of multiple images ranging from a minimum of two to a maximum of 10. The images in these ads can be scrolled through, and also appear in the news feed.
Video ads
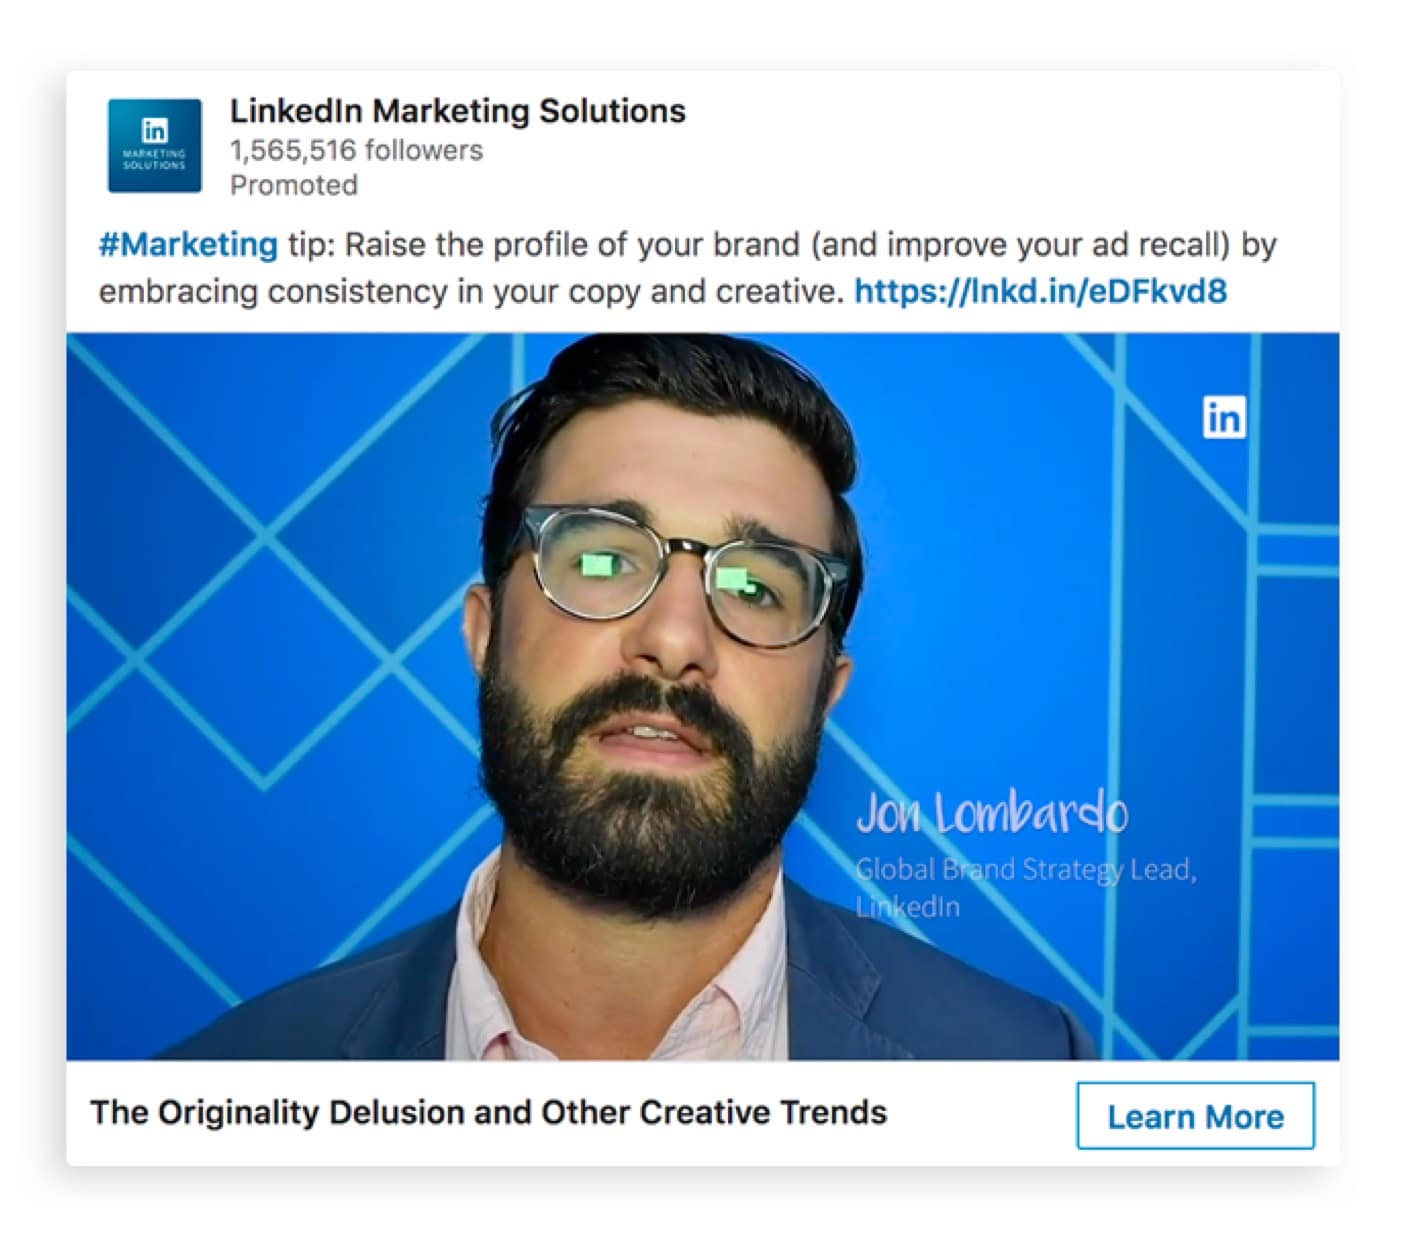
Like single image ads, video ads are made up of one video and appear in the news feed.
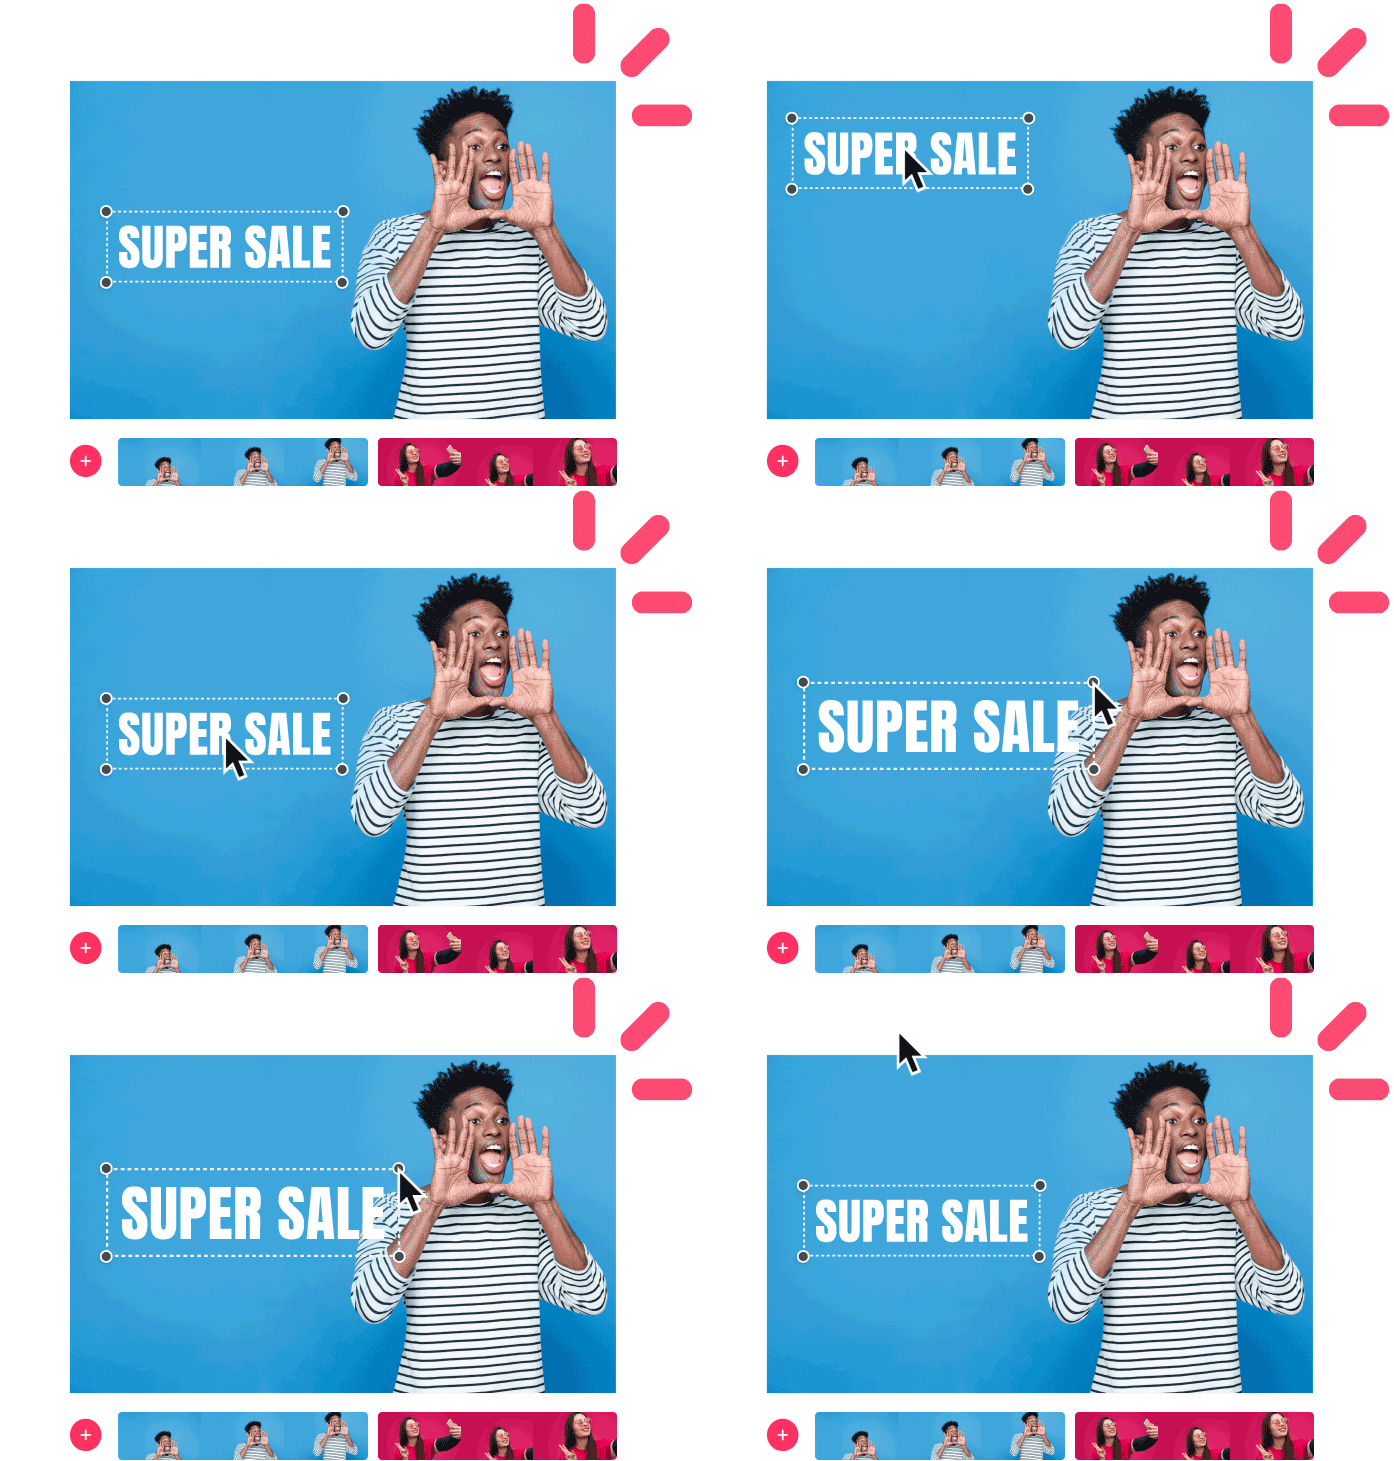
Creating video ads to feature in your LinkedIn campaigns is easier than you think.. We know that video is far more powerful than an image ad, and the Promo Editor lets you customize a captivating video in just a few minutes. You can upload your own footage or choose from thousands of ready-made professional templates, add your text, music, logo, and go!
Check out some of the best LinkedIn video ad examples here!
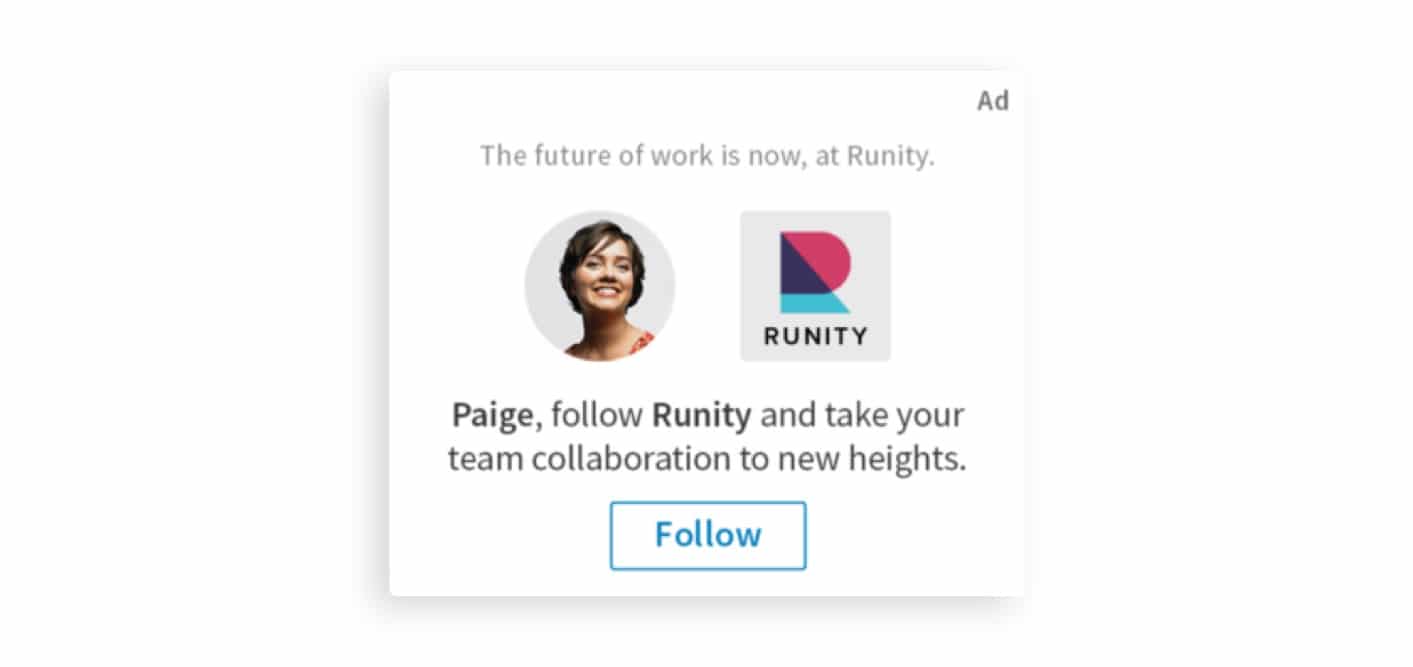
Follower ads
Follower ads are personalized ads that promote your company page to users LinkedIn has targeted via their profile data. These ads are only available on desktop.
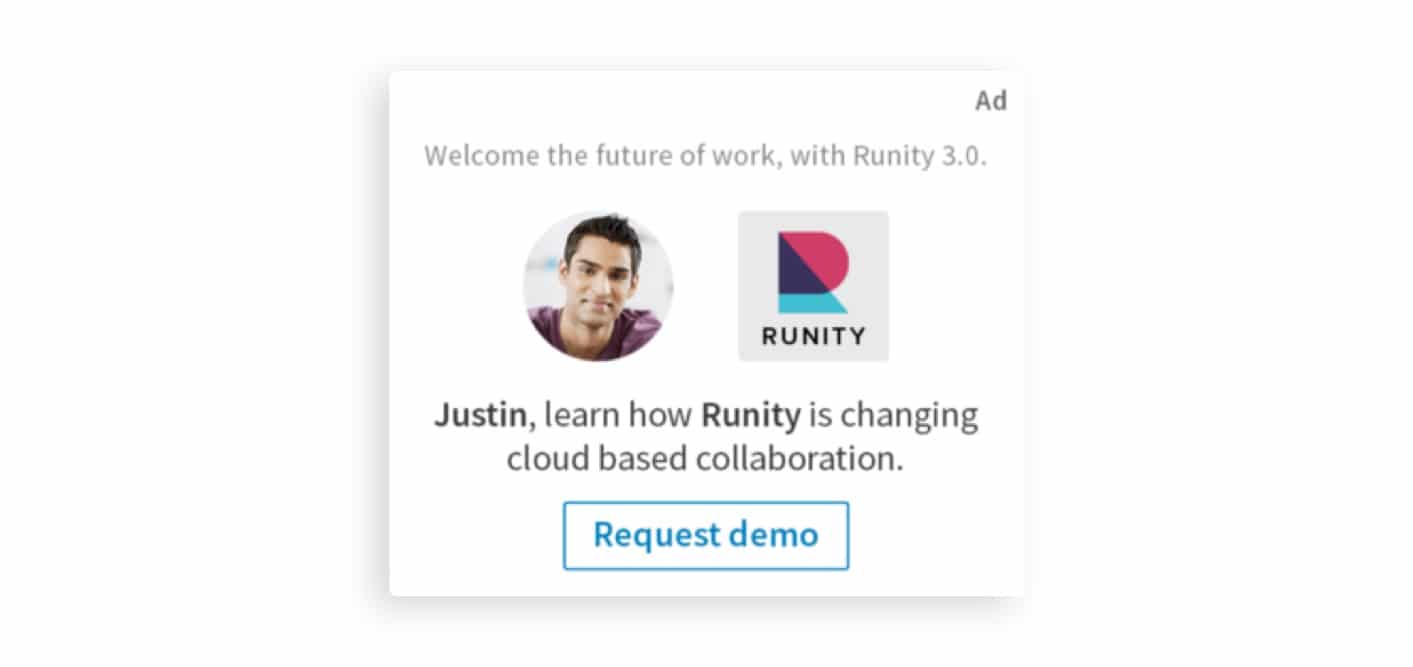
Spotlight ads
Spotlight ads are similar to Follower ads in that they promote a personalized offer to a targeted user via their profile data. They are also only available on desktop.
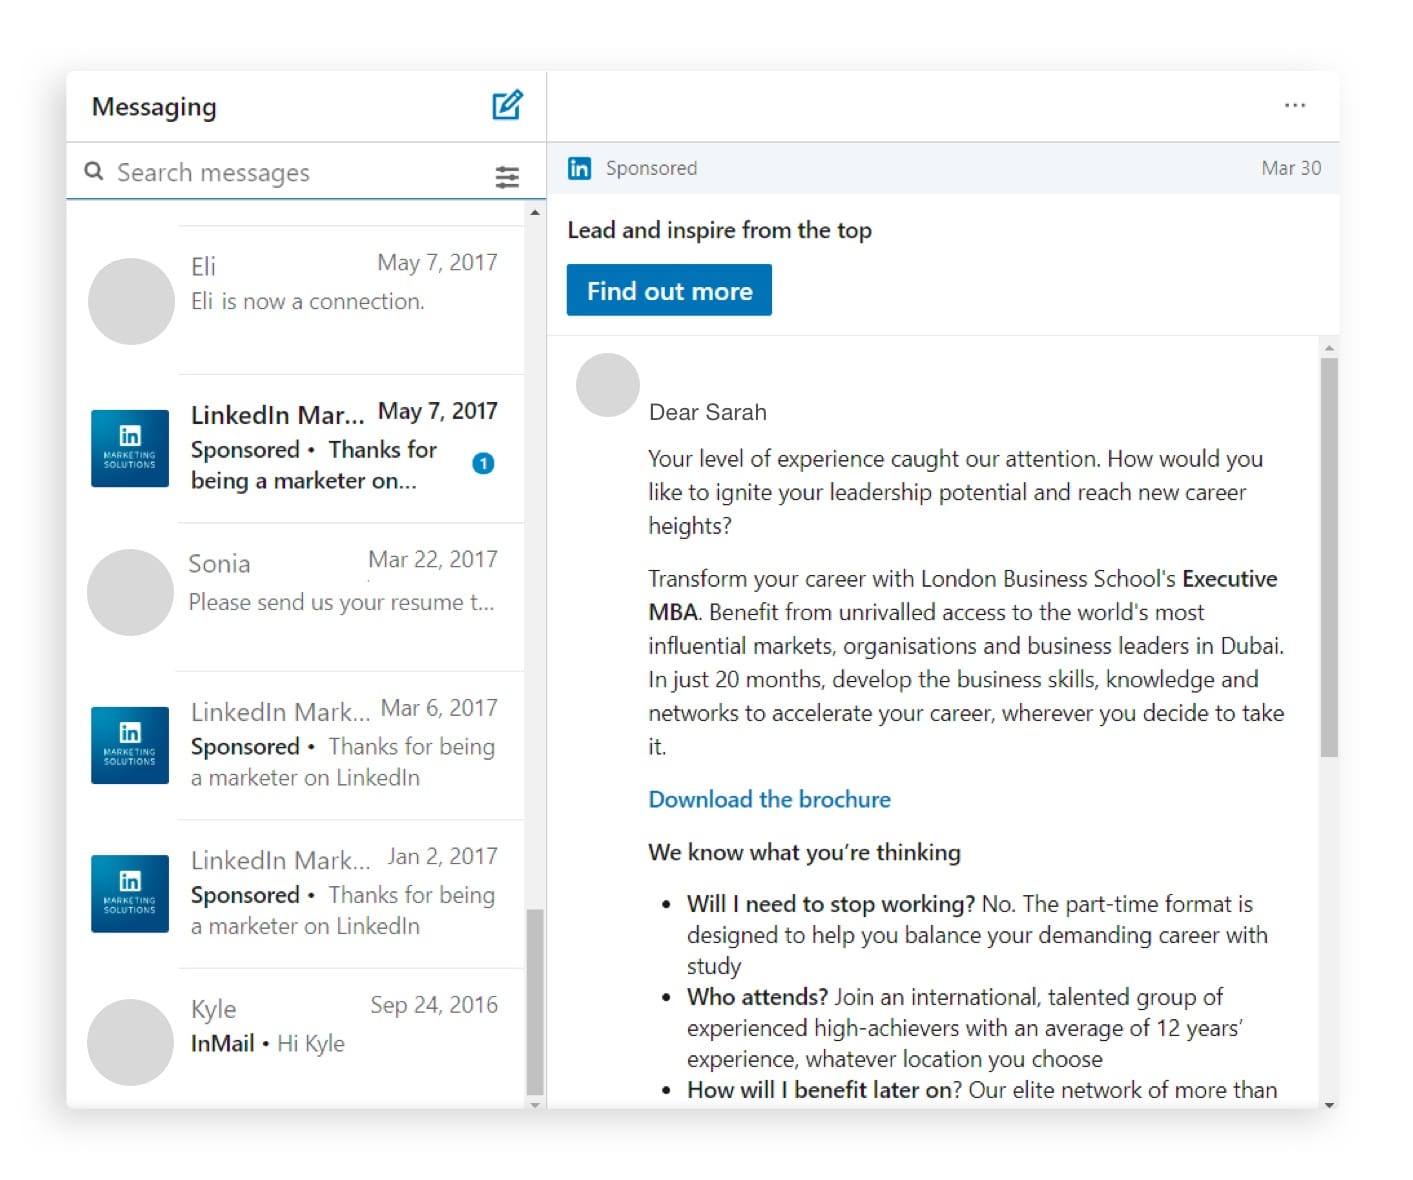
Message ads (in-mail ad)
Message ads, also considered in-mail ads are delivered directly to the inboxes of each member of your target audience.
Job ads
Job ads are personalized ads used to promote jobs and open positions. They also use LinkedIn profile data and are only available on desktop.
Placement
Now it’s time to decide where you want your ad to be displayed; this includes or excludes the LinkedIn Audience Network which can give your campaign further reach and exposure on the site’s third party platforms. This option, however, is not available for text ads.
In this section, you also have the option to exclude certain categories such as mobile apps or sites on which you don’t want your LinkedIn ads to appear. You can block groups of these apps and sites together from seeing your ads by uploading a block list to your campaign.

Budget & schedule
This is where you determine how much you want to spend on your ad campaign, how you want to spend that amount, and when you want the ad to run. Your budget can be approached from two angles:
Daily budget – the amount you are willing to spend per day of your ad schedule
Total budget – the total amount you are willing to spend for the entire duration of your ad
Both of these variables can be tweaked as you monitor your ad’s performance. If you notice certain demographics of your target audience not responding well to your ad, you can redirect your budget and spend towards the audience you see responding more positively.
When setting your ad schedule, you choose a start and end date for your ad. You have the option of not selecting an end date, and instead choosing to have your ad run continuously.
Keep in mind that the longer you schedule your ad to run, the higher the cost.

Bidding
Under the schedule dates you selected, you’ll see a variable called “Bid type.” In this drop down you have the following options:
Automated bid – This option lets LinkedIn decide how to best spend your budget to achieve your selected campaign objective.
Maximum cost bid – This option charges you every time a user clicks on your ad. LinkedIn suggests a bid range according to your budget, where the high end of the range is the most you could be charged.
Maximum CPM bid (pay-per-1,000 impressions) – This option charges you every time your ad is viewed by 1,000 people. If you’ve elected to use the LinkedIn Audience Network in your Placement settings, you will not be able to use this bid option.
Conversion tracking
The final step in setting up your campaign, you can set up conversion tracking. This optional setting allows you to keep track of and measure each action taken after a member of your audience clicks on your ad. You can organize this tracking process by naming the conversions you are interested in. For example, if you want to analyze users’ actions post-ad-click on a specific landing page of your website, such as the product page, you can label the conversion “Product Page.”
Set up ads
Now that you have your campaign parameters set, it’s time to set up your ad(s) that will run within that campaign set.
You’ll see the following screen:

Image source: HubSpot
Click “Create new ad” to get started.
Now is the time to compose the ad copy. You’ll be prompted to fill in the following information:
Ad image or video thumbnail: Upload the image (if image ad) or video thumbnail (if video ad) that you want displayed next to your copy
Ad headline: The bolded text or title that accompanies your ad. This is the text that catches your audience’s attention and should give them an accurate idea of what they will get if they click. It must remain brief as it cannot exceed 25 characters.
Ad description: The text directly under the headline, this information further describes the headline
Destination URL: This is where your audience will be taken once they click on your ad.
Pro tip: Unlike Facebook or YouTube ads, there is no CTA or call to action button, so it’s even more important that you write compelling copy that includes a CTA.
After filling in this information, you’ll be able to see it in the preview box to the right.

Now, all that’s left is for you to click that “Create” button! You’ve created your first LinkedIn Ad.
But your work is not done.
Monitor your ads
In order to get the most out of your LinkedIn marketing journey, you have to get used to checking in on your ads. Watch your campaign and view the click-through rates of each of your ads. How are they performing? Which days of the week do they perform better or worse? Where can you adjust your budget? How can your target audience be better adjusted? All of these original parameters you set can be tweaked in order to optimize your ads and achieve more success.
Because your audience, their buyer persona, and their needs are always adapting, you should be paying attention and adapting as well in order to make the appropriate changes.
Now you’re armed with all the ammunition you need to kick off your LinkedIn advertising efforts. LinkedIn is a great place for businesses to connect and grow, making use of these crucial marketing tips. Promo.com is here to help your ads get a head start with stunning videos, so you can be confident you’re already ahead of the game.
Create your LinkedIn video ad with Promo.com’s video maker today
