Promo Spotlight On: iTop Screen Recorder by iObit

You’re probably going to need to capture information from your monitor at some point in your life. Given the nature of communication these days, probably sooner rather than later. Whether you’re an entrepreneur, blogger, coach, teacher, marketer, or web developer, you likely need to screen record your activities from time to time. It could be for a video tutorial of your product or site, or to record a meeting. No matter the case, here at Promo, we thought some reviews of the available tools out there would be helpful.
Today we will cover iObit’s screen recording software. We hope it will help you decide if this is the right screen recording tool for you.
iObit started as a security software company that now also offers a screen recorder for Windows known online as both iTop and iFun. This spotlight covers the features of iTop’s desktop video recorder. We will also review how to use the freeware screen recorder Windows 10 software and highlight some of its premium features. Finally, this iTop review will tell you how to finalize your project using additional software that compliments your screen recording. We’d like to emphasize that iTop is only available for Windows, so if you are using a different operating system you might want to look at other screen recorder software available for you.
iTop Screen Recorder for Windows is indeed a tool that lets you save clips of your computer screen. However, the software does more than screen record. It offers HD capability, facecam recording, a basic video editor, audio recording, and other features that can enhance your online business, presentations, and webinars. Ok, now that we have covered all of that, let’s get started!
Reasons to use a Recording Software:
• Model steps for using specific software
• Make a tutorial for anything on a computer, such as digital drawing or gaming
• Quickly save a video that you previously published online
• Uncover software errors to share with the team
• Record live presentations or meetings
• Save a class that you took online so that you can watch it again
These are just a handful of reasons why having a desktop recorder handy is a good idea. But is iTop’s specific screen recorder the right one for your needs? We’re going to uncover the ins and outs of this software in our iTop spotlight, so you can make an informed decision before committing to any screen recorder.
iTop Key Features
Several features make iTop convenient for different screen record applications. From multiple export options to mouse click effects, these features make iTop useful without overcomplicating things. iTop offers a free version and a Pro version. As expected, some features are not available in the free software.
iTop Pro Version Exclusives
• No watermark
• Custom watermark option
• Up to 60 FPS for smoother recording
• GPU acceleration for fewer lags
• HD video that uses an advanced image coding algorithm for optimal quality and speed
• Option to save audio as a separate file
• Schedule video recordings
• Automatic updates to the most current version
• Free technical support on-demand 24/7
• Free Version Features
• Record all PC activity
• Customize recording dimensions
• Snap a screenshot during a recording
• Doodle on the screen while recording
• Capture audio from system speakers and microphone
• Trim video length
• No time limit
• Export in multiple formats
No Lag
Are you wondering how to record your screen on Windows lag-free? Well, downloading iTop isn’t a guarantee to provide that quality. Other factors within your device contribute to the quality of your video output.
This screen recorder is designed to be used on the Windows 10 operating system. However, it’s compatible with Windows 8, 8.1, and 7. The iTop desktop recorder works best when paired with a computer with at least a 1GHz Intel or AMD processor. In addition, you need at least 2 GB of RAM and 1 GB of disk space for an optimal experience.
The iTop screen recorder for Windows records at 50 FPS, which delivers high-definition captures even on low-end PCs. You can improve the speed and quality of the desktop recorder by activating the hardware acceleration feature, ensuring that your video will be smooth and lag-free. It also allows you to work on your computer while you’re recording. So whether you’re flipping through slides or playing a game, you can record your screen without interference or delays.
Easy-to-use Interface
The iTop Screen Recorder with facecam free and Pro versions are simple to install and use. The desktop video recorder shows you a quick tutorial, and you can begin capturing the screen in seconds.
As you record your screen, you can pause, resume, or stop the capture using a toolbar that appears on the bottom right of the screen. The toolbar won’t show up in the final recording, although your mouse clicks will. A basic hotkey bar at the top right of the screen shows you the shortcuts for recording, pausing, and taking screenshots.
If you use the free version of the iTop HD Screen Recorder, you can easily see the only available functions with Pro. Those are marked with a small, red dot.
You can click on the Options menu to explore a bit further. There are a few different settings that you can play with. Delving into the program doesn’t take long, though. This platform is extremely straightforward and focuses on function more than form. Because it doesn’t have too many bells or whistles, it’s easier to learn.
Record Specific Areas
You may not always want to record your entire screen. iTop video screen recorder lets you adjust the settings before you record. For example, you can capture video from the full screen, a selected window, or a specific area. The software even allows you to crop out a fixed ratio, which can help you adapt your video to the optimal image size when you’re sharing it or playing it back.
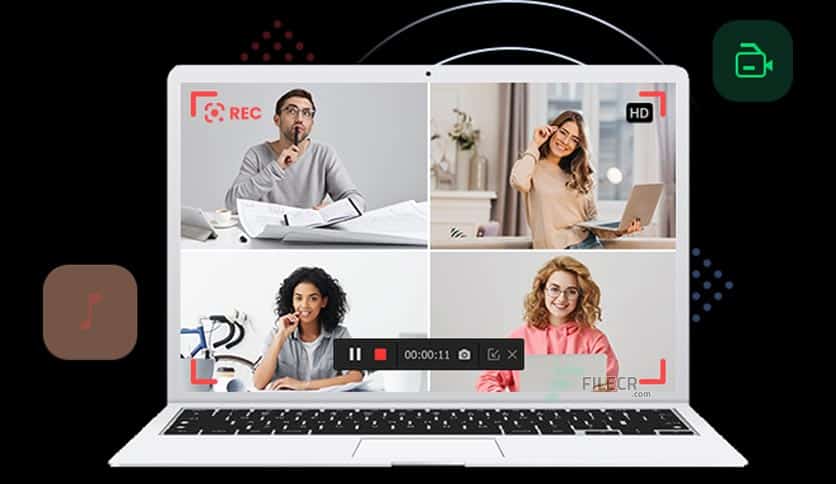
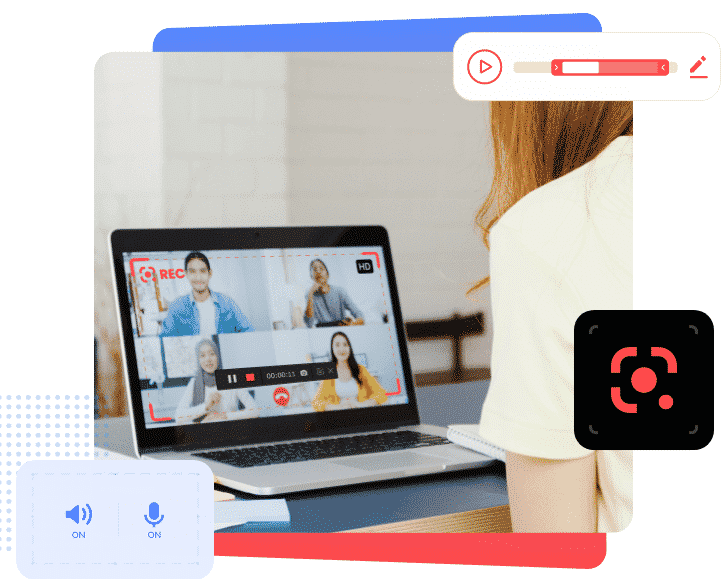
Showing your face can boost engagement and help you connect with your audience. This easy screen recorder lets you layer a real-time recording from your webcam over the screen capture. Select the webcam option in Settings before you record. You’ll be able to choose the appropriate webcam and select the location for the overlay on the recording.
No Time Limit
When you’re recording live, you don’t always have control over how long the session will take. It can be frustrating to stop a game because your recording software timed out. The iTop Screen Recorder has no time limit. The capture will last as long as you want.
Mouse Cursor Effects
If you need to direct viewers’ attention to a specific area, use the built-in mouse cursor effects. Doing this can help your audience follow along with ease. In addition, it simplifies complex or dense information and shows viewers precisely what they should do next. Use the Settings panel to choose whether to highlight or add a click animation to the cursor. The effects are basic. The highlight adds a yellow circle that moves steadily with the cursor. The animation creates a red circle that pops up at the mouse’s location when you click on it. Neither effect will show up if you toggle the Mouse option off on the recording dashboard.
Doodling
If you’re giving a presentation, you might want to circle important details or make notes in the viewing area. The iTop screen and audio recorder allows you to draw with a rainbow of colors. You can select a pencil for free-form drawing or choose a shape or text. Clear the doodles when you’re ready, or use the Undo button to erase your last mark.
Take Screenshots as you Record
Taking screenshots as you record boosts your efficiency. In addition, you can save still images from your video screen recorder in image files that are automatically separated from the video file. This provides you with extra material for your ads, tutorial, or other uses, such as snapping pictures of essential details when you’re recording a lecture.
Video Editing Functionality
You don’t always get a flawless stream when you’re recording live. For example, you might stumble over your video script lines or need to take a bathroom break, resulting in your video capture ending up much longer than you need. After you’ve recorded, you can edit your video using the same iTop HD Screen Recorder. However, the editor is limited to the bare necessities. For example, you can trim the beginning and end of the video to shorten it, but you can’t crop, duplicate, or move frames. Additionally, you can’t use the editor to adjust the visuals. Instead, you would need to use a more advanced video editing platform for fine-tuning the colors or change the size.
Various Audio Options
Before you record your screen, you can establish your audio settings. You can use each of these features alone. However, one of the benefits of this screen recorder with sound is that you can play the system audio simultaneously as live audio.
Audio options include:
Speaker: This is the ability to record what plays through the computer speakers. You might want this feature enabled if you’re recording a lecture online. You can turn it off if you are planning to narrate or overdub the audio.
Mic: This lets you record your voice in real-time as you capture the images from the screen. You may use this when you have the webcam on or are speaking over a PowerPoint presentation. You can use the computer’s microphone or plug in an external one.
Flexible Watermark Options: You may have trouble finding free recording software without a watermark, as there is a lot of software available for a video screen recorder; however, many free versions place a watermark over your video, which detracts from the video’s aesthetic and looks less than professional. Also, it undermines your branding and may confuse your audience. If you upgrade your free iTop desktop recorder to the Pro version, you won’t have to use the company’s watermark. Moreover, you can add your own watermark, which helps maintain a strong brand message.
Export in common shareable formats
Even if you don’t know much about publishing videos online, you can save your project in the correct format using the iTop Screen Recorder with audio and facecam. When you click Export, the software will automatically save your file as an MP4 unless you have changed that feature in the advanced settings.
However, you can choose ‘Upload’ to share your file to YouTube, Vimeo, Instagram, Facebook, Google Drive, or Dropbox. Doing this will open a browser window that takes you through the necessary steps for saving the file appropriately for the specific platform.
iTop Desktop Recorder cost
As we mentioned before, the iTop desktop recorder lets you record your screen for free. The no-cost version has several features. However, to make the most of this software and activate all the features, you’ll need to purchase the Pro version. When you download the free version, you’ll also have the option to upgrade to Pro for $29.99 through the interface.
If you purchase the Pro version through iTop, it costs $39.99 for a one-year subscription at the time of this writing. The iTop website also offers a backup CD for $9.99 and an extended download service for $7.99.
iTop Screen Recorder Basics
You might wonder how to record a laptop screen with audio – you don’t need to be too tech-savvy to use this free HD screen recorder. After you download it, you’ll click to run the installer. Then, you can select whether the installer places a shortcut on your PC’s toolbar or desktop for quick access later.
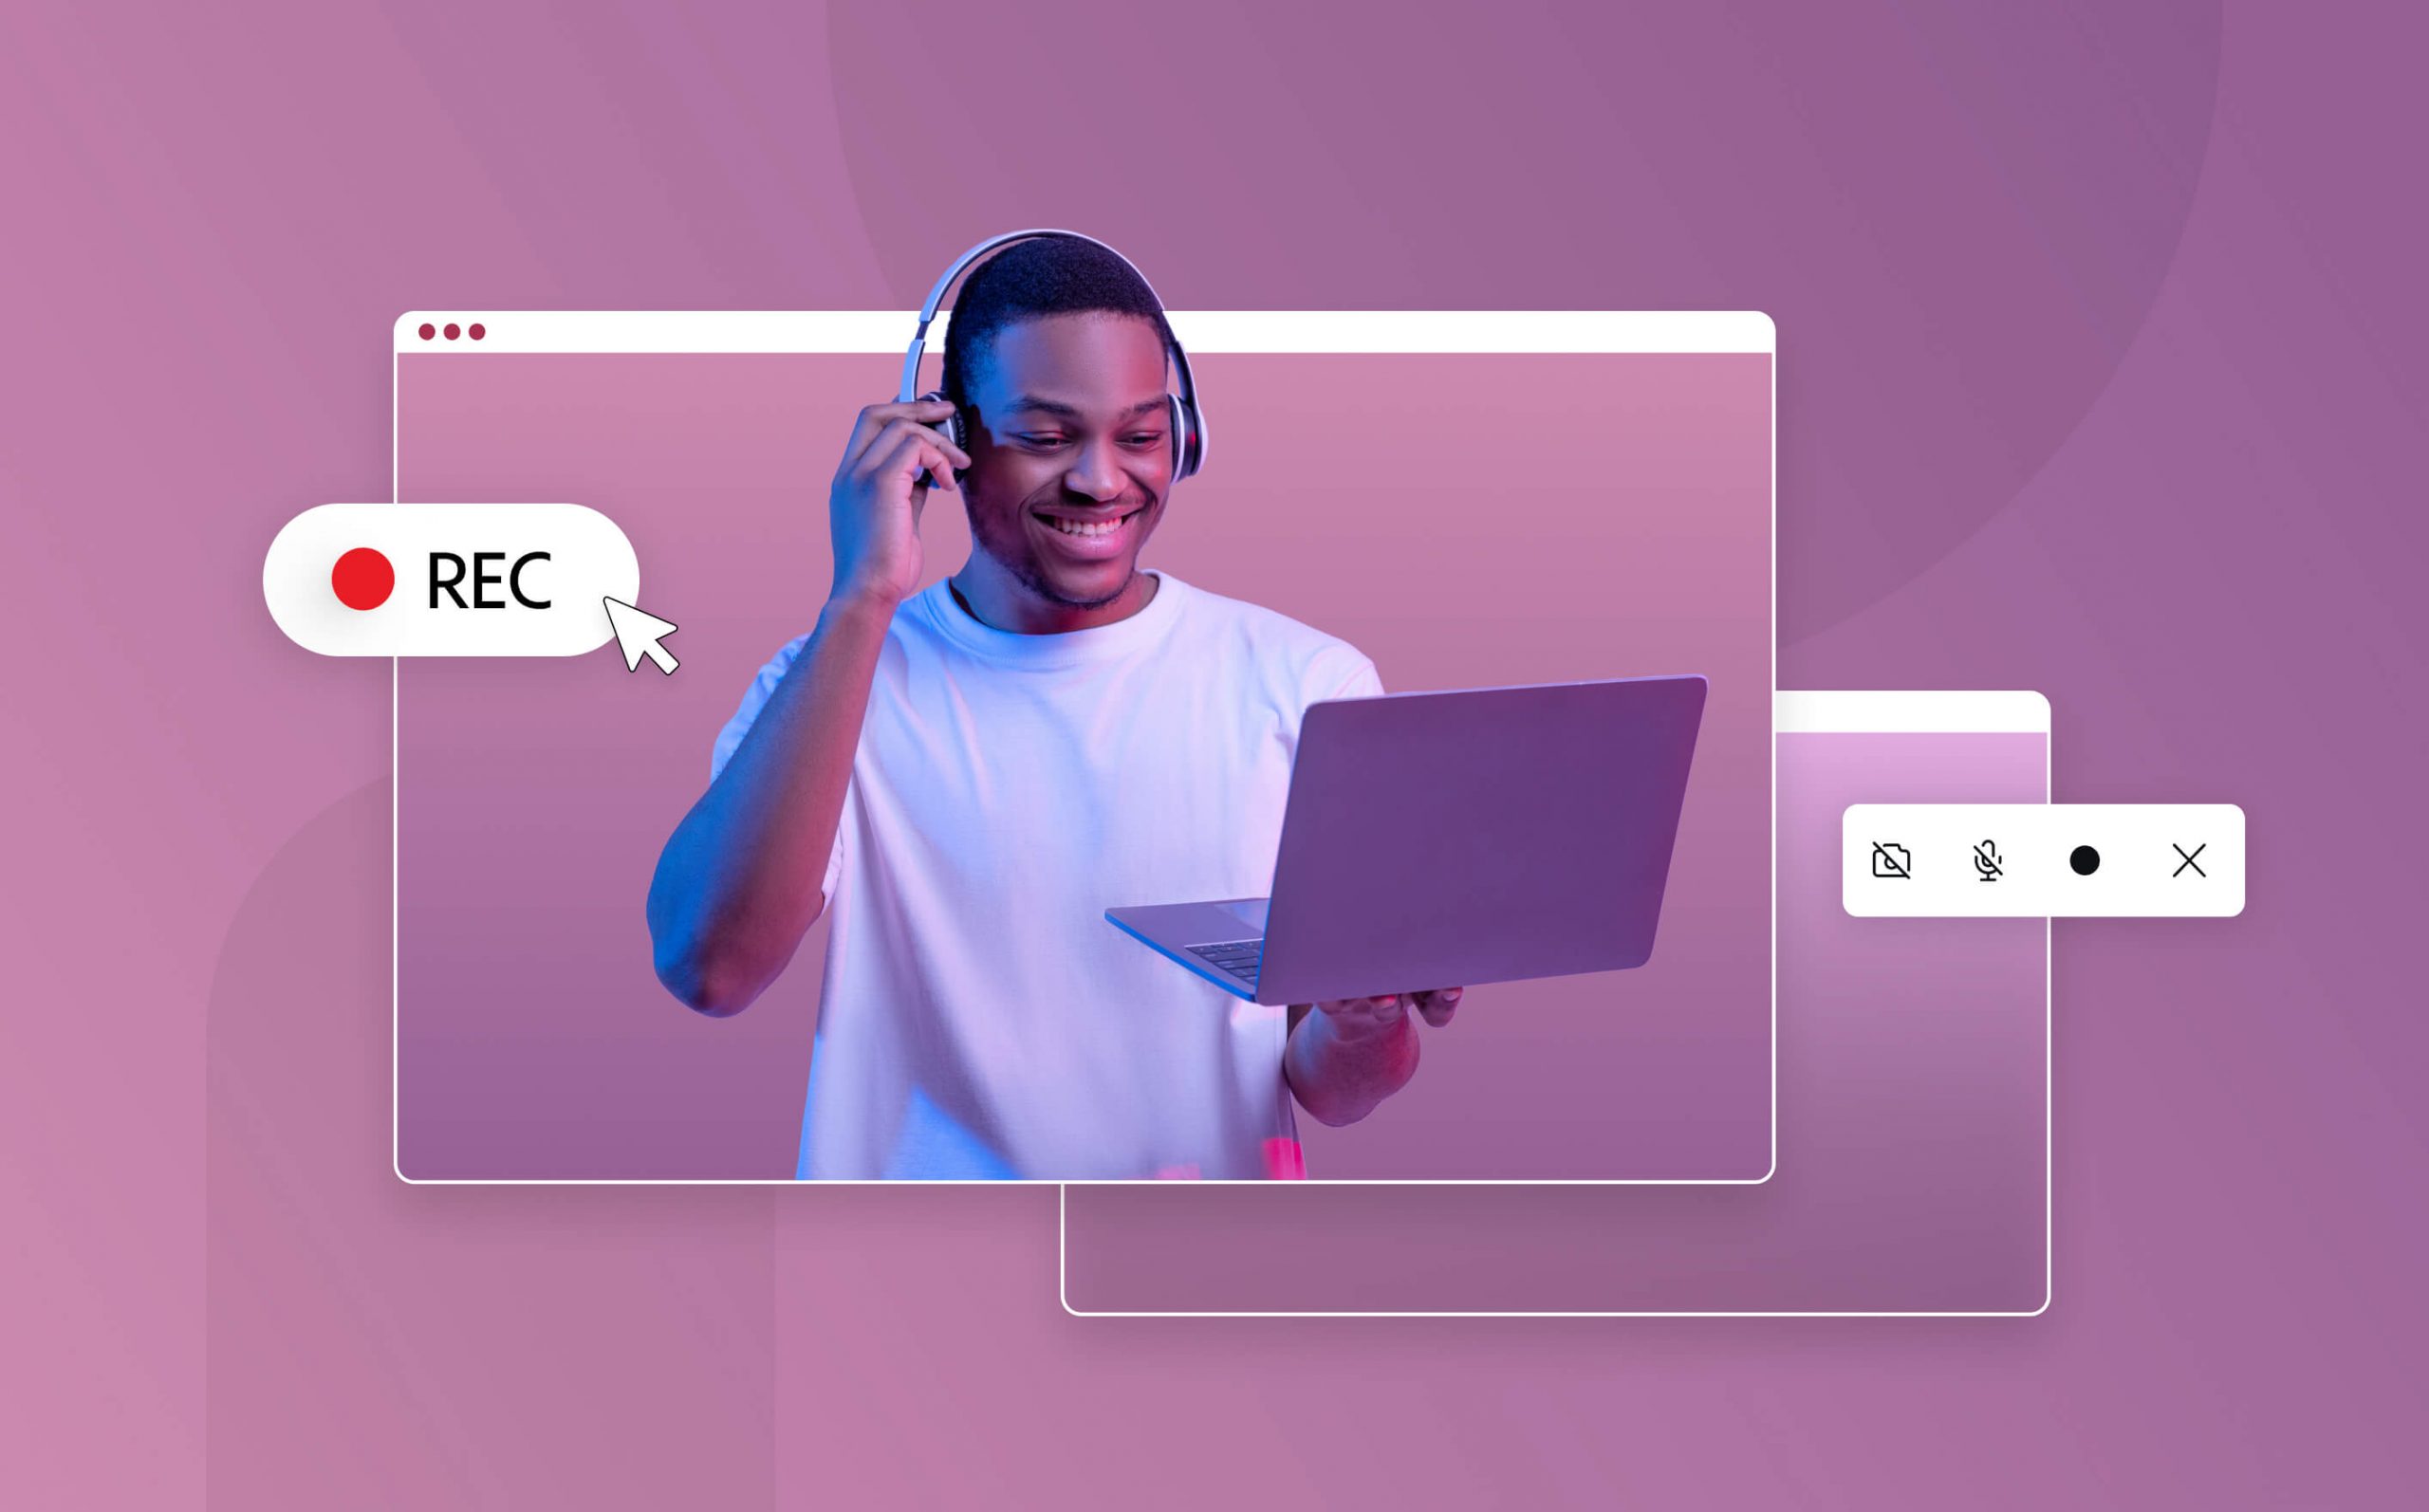
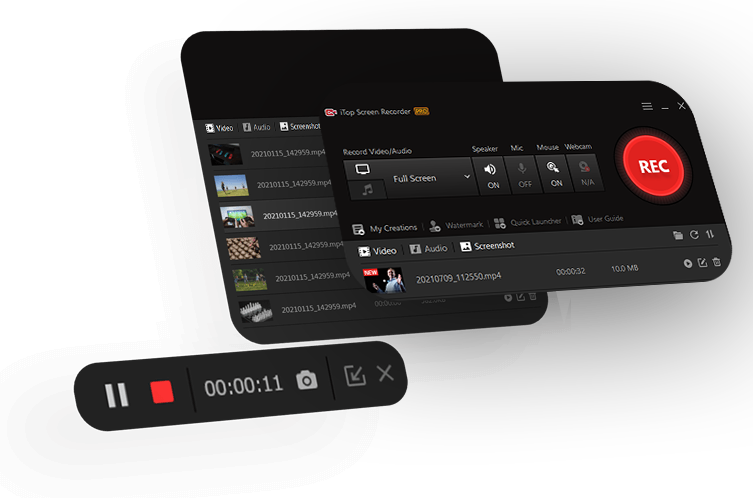
You’ll come to the main dashboard with a large ‘Rec’ icon when you launch the program. If you click that button, you’ll begin recording everything on your screen. To stop the recording, click the red square in the toolbar that appears at the bottom right of your screen.
We will go over customization options and settings below. However, if you want to get started right away, all you have to do is click a button. Your saved videos will appear in the dashboard, and those file shortcuts will show up every time you open the program unless you delete them.
How to use iTop Screen Recorder
It’s as easy as:
1. Download
2. Choose either full screen or select a region of your screen for recording
3. Press go.
The more extended version goes like this:
Launch the software after downloading and installing the iTop Screen Recorder for Windows. The main dashboard offers quick setup functions for each recording. Next, click on the screen icon next to the Record Video/Audio dropdown menu to record your screen. Then, follow the steps below.
Step 1 to Record Your Screen – Choose Screen Size
Fullscreen: Record everything you see on your screen as it is.
Select region: Drag and drop the selected recording area. This is ideal if you want to exclude the NAV bar, tabs, or toolbars on your screen or other private information.
Select window: Record only the images from there is no standard aspect ratio for screen size on electronic devices. However, most TVs and PCs use a 16:9 aspect ratio. It is also the standard HDTV format and the aspect ratio used for YouTube videos. For example, if you record the screen using an aspect ratio of 4:3 and wish to publish the capture on a platform that uses a 16:9 aspect ratio, the video will have vertical black borders to the left and the right of the specified window. This is a good choice if you need to complete functions on private, unseen windows during your screen capture or want to record a live stream while using your computer for other activities.
Fixed ratio (4:3 or 16:9): There is no standard aspect ratio for screen size on electronic devices. However, most TVs and PCs use a 16:9 aspect ratio. It is also the standard HDTV format and the aspect ratio that’s used for YouTube videos. If you record the screen using an aspect ratio of 4:3 and wish to publish the capture on a platform that uses a 16:9 aspect ratio, the video will have vertical black borders to the left and the right.
Step 2 to Record Your Screen – Speaker and Mic
Click on the volume icon under the speaker to toggle the system sound on and off. Next, click on the microphone icon under the mic to use the computer’s microphone and capture audio along with the screen recording. Again, you can enable these simultaneously or choose one.
Step 3 to Record Your Screen – Cursor Settings
The cursor icon under the mouse toggles the visibility of your mouse in the recording. If it’s off, you’ll be able to see the mouse cursor as you record. However, it won’t show up in the captured video.
Step 4 to Record Your Screen – Webcam
Finally, choose whether to include the webcam overlay by clicking the icon under the webcam.
What to Expect When You Click ‘Record’
When you’re ready to record, click the large rec button. Unless you have changed the settings, a countdown will appear on your screen. The program will begin to record any actions that appear on your screen or the region that you have selected. While you’re recording, a small toolbox will appear at the bottom right of your screen. Here, you can click Pause to stop the recording without closing out the file. If you need to rearrange things on your screen or check your notes before proceeding, this is a great idea. Next, click Play to resume the recording. When you’re ready to stop the recording completely, press the red Stop button.
Advanced Settings
Advanced settings let you customize your screen capture further than the basic settings on the main dashboard. To access these, click on the Options hamburger, which looks like three lines stacked on top of each other at the top right of the dashboard. Select ‘Settings’ to adjust the following:
General: Set the language and basic program load and display options.
Record: Choose the file save location and other basic recording options. This is where you can select the highlight or click animation options for the mouse cursor effects.
Webcam: Click the box if you’d like to show an overlay of a webcam image during your screen capture. Once you select that option, you can choose which webcam you’d like to use and view the preview. You can also select the overlay position and size.
Format: Adjust the video format to support the best quality. You can select the video size, file format, frame rate, bitrate, and quality here.
Hotkeys: Set up hotkeys so that you can use your keyboard to start quickly, stop, record audio only, pause, resume, and take a screenshot.
Post Recording: Access your recordings in the main dashboard. After you stop a recording, the file will appear under My Creations. This is in the main dashboard beneath the primary function buttons. Here, you can view your video captures, audio recordings, and screenshots.
To the right, click on the folder icon to view the location of each file. You can also use the icons here to refresh the list of captures or view them in order of creation time, file name, or file size.
How to Edit Screen Recordings
Edit your screen captures by heading to the dashboard. For example, in the list of files under My Creations, each file has three icons to the right. Their functions are as follows:
Preview: This looks like a play button and lets you preview the recording.
Edit: This looks like a pencil in a square and allows you to edit the video.
Delete: This looks like a garbage can and will remove the file from the dashboard and your computer.
To edit the recording, click on the Edit icon. A new window will appear. It will show your video on the top portion of the screen. At the bottom, you’ll be able to click Play to watch the screen capture. Next to the Play button is a bar that shows the length of the video. Click and drag the arrows on the right and left of the bar to crop and delete the beginning or end of the video.
You’ll need to save the edits before you close out of this window. If you try to close the window without saving, you’ll see a dialog box that asks you if you’re sure that you want to exit without saving. This gives you a chance to protect the changes that you have made. While you can edit a video by trimming the beginning and end, you cannot edit a screenshot using this program. However, your computer should offer you basic editing options that include cropping and rotating.
Exporting Your Video Recording
You can also save your edits by clicking Export. A window will appear, and you can set the file location there. The file is saved in the format that you selected under Settings. Even though it’s only available for Windows, the software allows you to export files in several formats. If you prefer to use a smartphone app to edit and save final versions of your videos, transfer the files created on your PC using iTop to your mobile device. Then, finalize your project there.
Video Watermarks
Adding a watermark is possible with a premium subscription. If you have paid to activate the upgrade, you can click on ‘Watermark next to My Creations’ in the dashboard. From here, you can choose to use the default watermark, no watermark, or a custom watermark. The custom watermark feature doesn’t let you upload an image to use as a watermark. However, you can include any text and adjust the font type, size, color, and transparency. Of course, you can always use another piece of software, such as a video editor or online video creator, to overlay your logo image.
iTop as an Audio Recorder
To record audio alone, click on the music notes icon next to the Record Video/Audio dropdown menu. You can turn your system speaker or mic audio on and off here. You can also verify that the program is picking up sound.
When you select this option and click record, only the audio that you pick up through the speaker or microphone will be recorded. As you are recording, a small toolbar will show up on the bottom right of your screen. This gives you the option to pause and stop the recording.
After you finish recording, the file is saved as an mp3. It will appear in the dashboard under My Creations and Audio. You can preview, edit or delete the file in the same way that you do with video recordings.
iTop Review: Pros
There are many benefits to using iTop as a screen or audio recorder, as it’s one of the easiest software options for screen recording on a computer. Furthermore, its basic features should be enough to get you started.
• User-friendly interface gets you started with just a few clicks
• Doesn’t contain ads
• Video editing software included
• Toolbars and hotkeys give you seamless controls while you work
• Simple, straightforward user experience
• Adaptable for a novice or advanced users
• Wide variety of file formats can be further edited using advanced software or uploaded to just about any site
iTop Review: Cons
Although the video screen recorder has many advantages, it does have some downfalls that you’ll notice on other iTop reviews. Most of the disadvantages that you’ll see in this and other iTop reviews stem from the fact that the software is basic. As a result, it has some limitations, but there are always workarounds.
• Video editing capabilities are limited
• Limited mouse click and highlighter features
• Watermark features only available in Pro
• Doesn’t let you upload a watermark image
• Only available for Windows
How to use iTop Screen Recorder with Promo.com
Once you have recorded your screen using the iTop Screen Recorder, you’ll have files that you can adapt in a variety of ways. Have you watched anything on YouTube, Vimeo, Instagram or Facebook recently? If so, you’ve probably noticed that many videos are edited for engagement – errors are edited out. The videos are often enhanced to boost engagement.
Whether you’re putting together a tutorial, an ad, or an online lecture, you will likely have to add some finishing touches to make it look professional and capture the attention of your audience. That’s where Promo.com comes in.
Promo.com is the world’s leading online video maker. Geared toward small businesses, individuals, restaurants, SaaS companies, marketing agencies and retail stores – just about anyone can use Promo.com to put together snazzy videos that are fun and multifaceted.
Promo.com Features
Promo.com is free to try and easy to use. We make it a point to provide our software to users in a way that is easily accessible, thus providing a way for creating your videos with Promo.com via your browser.
No download or installation is necessary, and you can access your files from anywhere by simply logging into your account. So if you’re visiting a friend and a great idea comes to mind – you can apply it then and there – instead of having to wait until you get back to your own desk.
A few more features to note are:
Choose from a library of existing royalty-free premium HD photos and videos, or upload your own.
Easily merge multiple videos and images together with professional-looking results.
Customize the video with text, images, and licensed music.
Share links to your videos with your audience.
iTop Screen Recorder + Promo.com Video Maker
This combination is a great way to put together all of the clips and screenshots that you recorded using the iTop Screen Recorder. Then, upload the video saved from the iTop HD screen recorder to create a new project at Promo.com. Additionally, if you’d like to merge multiple videos, you can, after uploading the first one – then repeating the upload process for each until all your videos are added to the video maker timeline.
From there, you can add text and audio overlays. You can even merge your video with other photos and videos from Promo.com’s library. This is a great way to illustrate your message and use a variety of resources to create the perfect video for your audience.
Why Promo.com?
Promo.com is designed to work with many popular social platforms and offers shortcuts for creating and saving videos that are optimized for each. For example, you can resize images to be the perfect size for an Instagram profile picture, Facebook story, or YouTube banner ad in just one click.
Our video maker offers templates that you can use to create your ads and videos. Many are customized to work with specific platforms. This makes online marketing easy even if you’re not a professional in that industry. Our free collage maker allows you to compile still images in a pleasing way and upload them to your social media accounts.
How Easy is Promo.com’s Video Maker?
Let’s say that you have recorded a tutorial on how to use a free screen recorder with no watermark and no time limit. You want to share it with your audience, but the basic recording is somewhat bland. You’d like to spice it up with your branding and some music.
Upload your screen captures from the iTop Screen Recorder to Promo.com. Consider using a ready-made template for your category and the platform you plan to publish the video. That might give you some ideas about length, format, and flow. Then, all you have to do is replace the content in the template with your content. Using Promo.com’s video maker to put together the final video streamlines the process for professionals.
You can even choose from a large library of pre-approved music to add to your content. That way, you don’t have to worry about using copyrighted content, which may not be approved by certain social media platforms.
More Promo.com Video Maker Features
Even though a desktop recorder such as iTop iTop has limited capabilities, it gives you the chance to create the raw material for your video content, and Promo.com offers the additional features, which provide the finishing touches for your project. It’s surprising to some just how many features Promo.com offers with such an easy-to-use and online interface. Some of the features that we offer that you won’t find in the iTop Screen Recorder include:
Media library
Royalty-free videos, images, and tunes that you can incorporate into your content let you focus on building your business instead of capturing professional photography to use in your branding.
Templates
There’s a template for almost every category, business, and content type. Once you select a template, you can customize it to your heart’s content. You can even search for templates using keywords that are applicable to your message.
Multi-clip videos
Merge multiple clips together into one project.
Watermark
Premium subscribers can upload their own image to use as a watermark on their videos. You can even set your logo to automatically upload to all of the content that you create in Promo, which saves you a step each time you start a new project.
Download in different aspect ratios
You can download each project in your required video aspect ratio. This allows you to create the video once and save it in a variety of sizes to use on different platforms.
iTop Review Final Thoughts
If this iTop review has sparked your interest, you can download this free screen recorder software. Then enhance your iTop screen recordings using Promo.com, and upload your videos to your favorite platform to broadcast your message, boost engagement, and increase your traffic. If you’d like to learn more or see a comparison of the top ten best screen recorders, visit our screen recorder software roundup here.


