How to create a YouTube outro
YouTube is an extremely crowded marketplace—users upload more than 300 hours of video every minute.
Getting your video to stand out is hard, but manageable, especially if you have the right tools and resources.
But if you’re an ambitious video marketer looking to grow your business on YouTube, simply ‘standing out’ is not good enough. You need users to take action.
Candidly, this is where a lot of beginner video marketers fall short on YouTube, and they don’t receive the KPI’s they’re looking for such as view count, clicks, view rate, and conversions. One of the juiciest types of low-hanging fruit you can take advantage of to optimize your videos is an effective YouTube outro.
But a lot of people don’t know how to make a YouTube outro that will actually drive the results they’re looking for. That changes today.
In this post, we’re going to examine the capabilities, nuances, and best practices of how to create a YouTube outro. We’ll cover the basic definitions, the requirements and technical specifications, expert video marketing tips, and a step-by-step walkthrough of how to create an effective YouTube outro.
Let’s dive in.
What is a YouTube outro?
A YouTube outro is a screen at the end of every video that gives you an opportunity to direct your viewers to more of your content. You can include other suggested videos (of your own, instead of what YouTube suggests), link to your website, or even offer a free download or sign-up.
Many YouTube channels include a very short video clip that directs users somewhere or reminds them to subscribe to the channel.
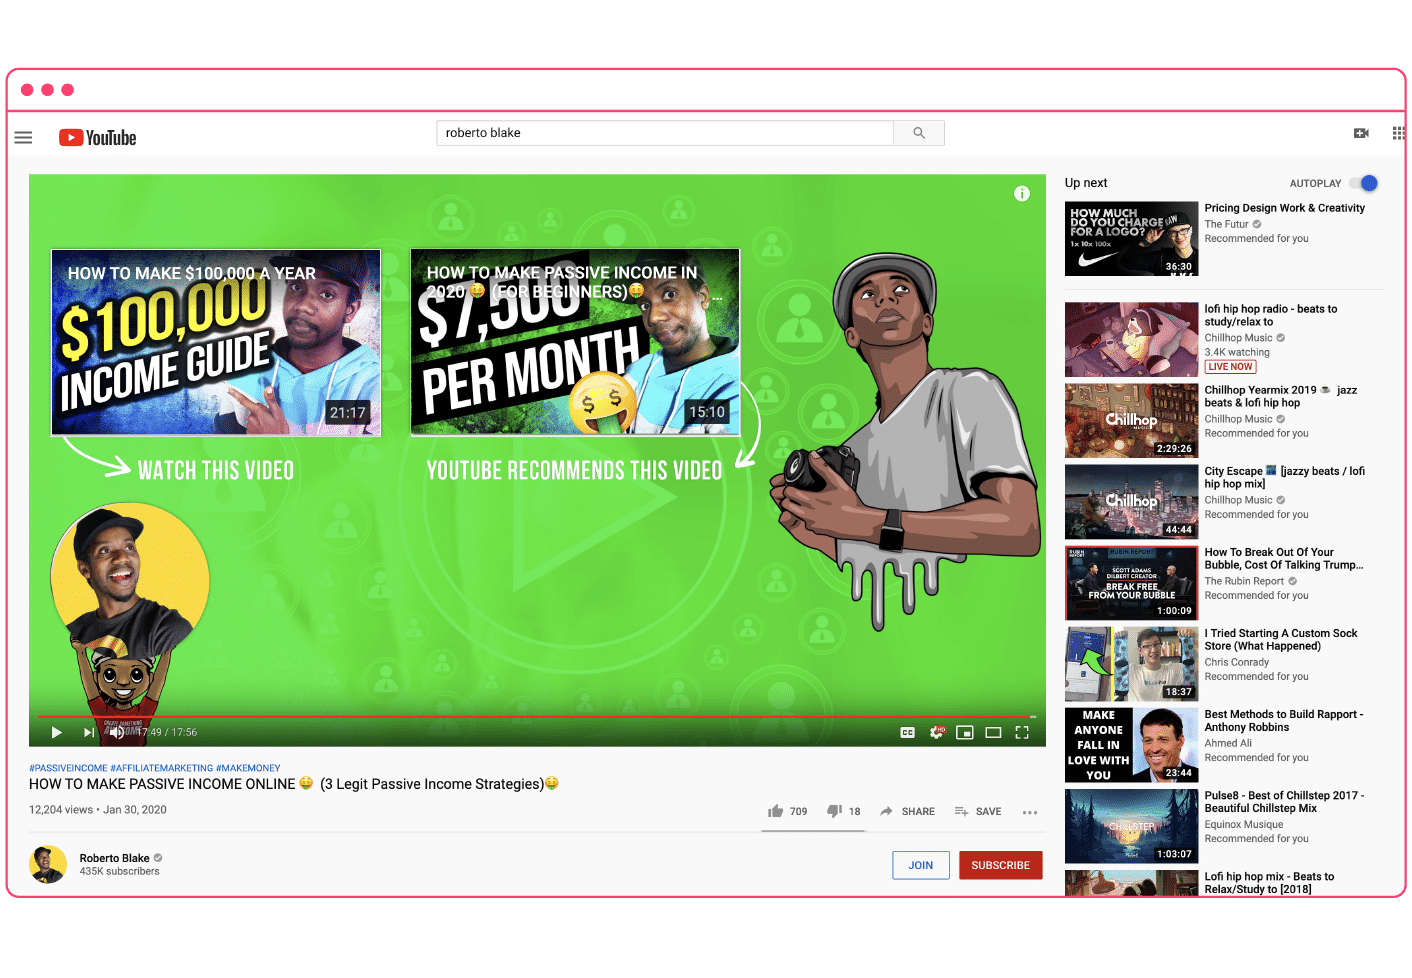 There are a few key considerations that YouTubers employ to create effective outros:
- The messaging is generally different, but related, to the core video content.
- The messaging directs users to take action via CTA.
- There on clickable on-screen CTAs called “elements” you can configure within YouTube.
Let’s tackle these points one at a time.
Messaging
As opposed to just a continuation of your core video content, the video outro will generally look and feel like a separate piece of content. Many outros will use a different backdrop or location than the earlier parts of the video, which creates a sense of finality or resolution for the audience.
Additionally, the topic is usually different than the main content. So if your video was titled “How to tie a tie,” an outro might point to another video about how to pick out a blazer, job interview tips, or some other CTA.
Call to action
As we hinted at in the section above, effective YouTube outros spell out the next steps for the audience via CTAs. This is a crucial part! The viewer has just rewarded you by sticking around to the end of your video, increasing your view rates and view count—capitalize on that momentum by giving them clear directions on exactly what to do next.
But what should they do? To answer that, you need to understand what YouTube “elements” are.
YouTube elements
An element is a clickable graphic that you can (and should) add to your outro. There are six types of elements:
- Video: Link the viewer to a different YouTube video.
- Playlist: Link the viewer to a YouTube playlist.
- Merchandise: Link the viewer to your branded merchandise (if eligible).
- Subscribe: Allow the viewer to click a subscribe button to your channel.
- Channel: Link the viewer to your main channel page.
- Link (YouTube Partner Program): Link the viewer to an approved website.
We’ll dive deeper into the technical requirements and specifications of each element in just a bit, but for now, here’s a quick visual of how elements can appear on a YouTube outro.
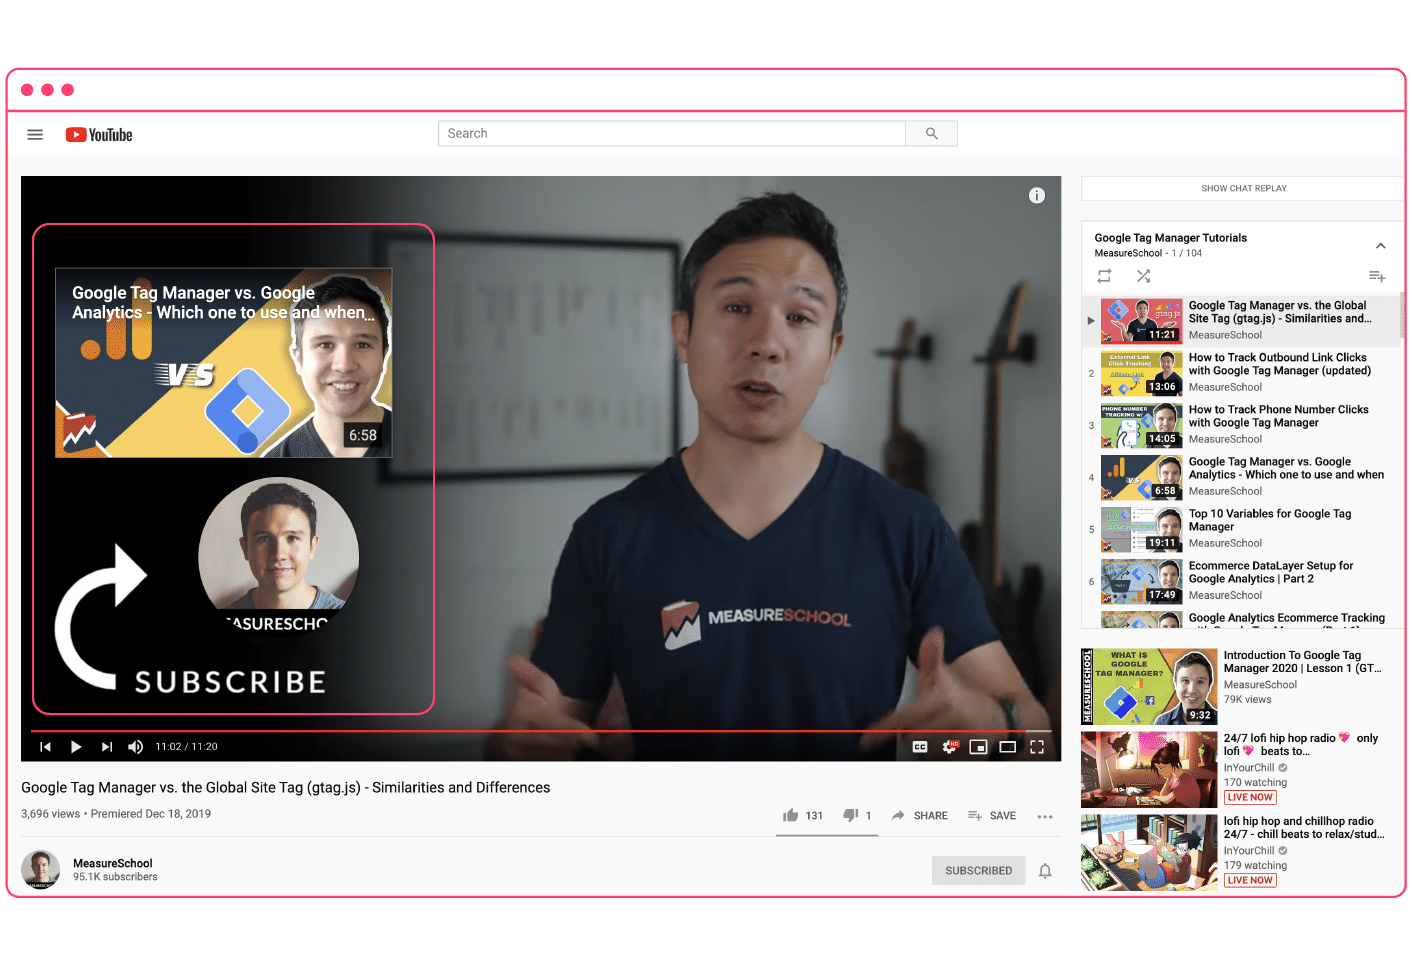 Note that you can add elements to YouTube ads, as well.
Related reading: The best YouTube video ad examples for 2020.
What is a YouTube end screen?
A YouTube end screen is the official name for a YouTube outro. The terms are synonymous, but “outro” seems to be more often used in common video parlance.
In YouTube’s official support documentation, however, outros are referenced as “end screens” throughout. Feel free to interchange the terms or use whatever rolls off the tongue better for you! Now that you understand the general concepts of YouTube end screens (or outros), let’s get into the details.
Requirements and specs
There are two considerations when it comes to the technical specifications of YouTube outros:
- The video content
- The elements
For the video content, the requirements are identical to what’s required for any type of organic video content on YouTube, which are as follows:
- Dimensions: 1920px by 1080px.
- Aspect ratio: 16:9 (pillarbox added if 4:3).
- Formats: MOV, MPEG4, MP4, AVI, WMV, MPEG-PS, FLV, 3GPP, and WebM.
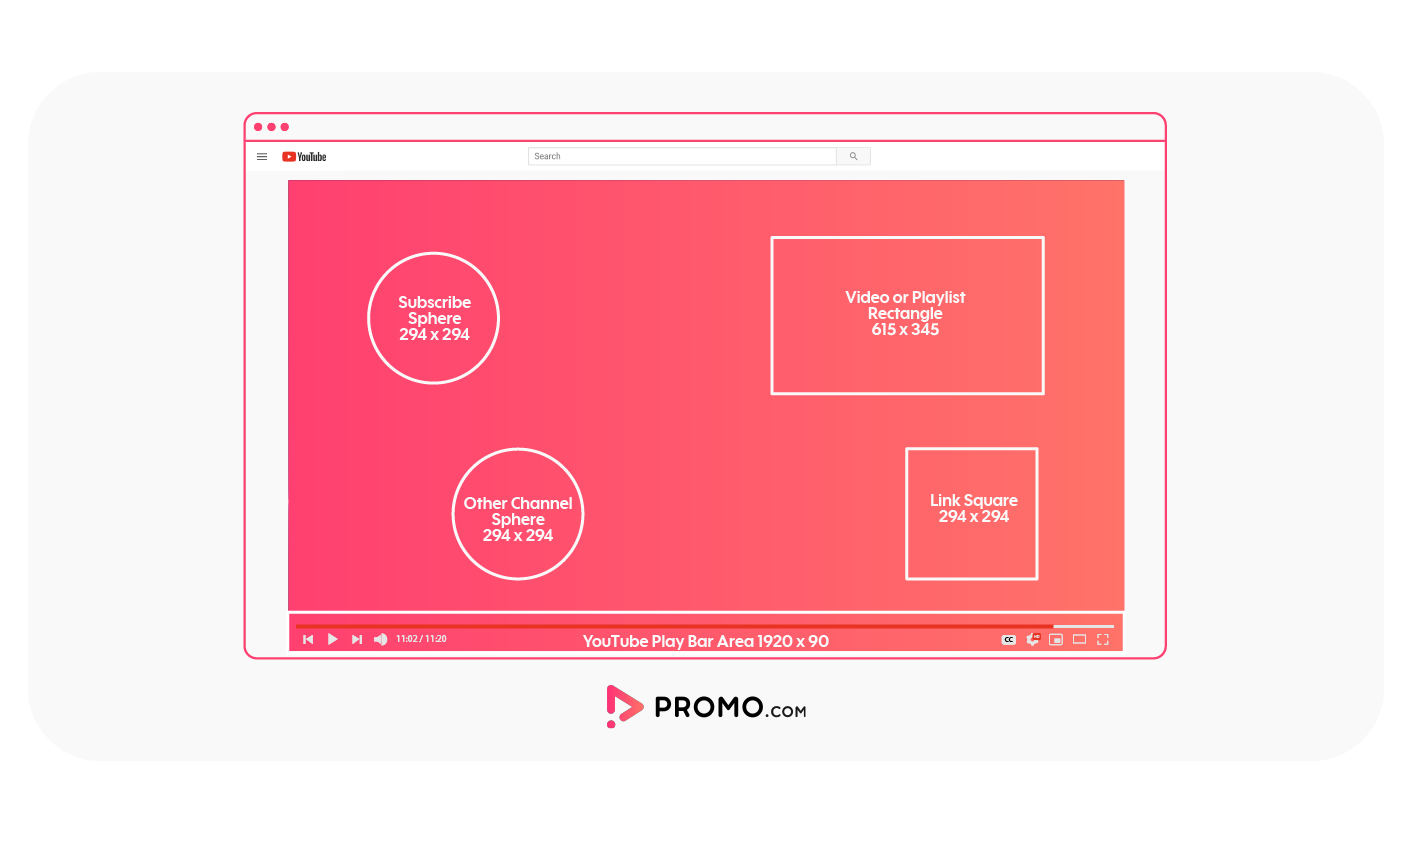
If you need more information on YouTube technical specs for video (and all other social media videos, too!), check out our related post: The complete list of social media video sizes for 2020.
When it comes to video length, however, it pays to be precise.
How long should a YouTube outro be?
YouTube outros must be between 5-20 seconds long, and located at the end of your video, obviously. In addition, your YouTube video must be at least 25 seconds long in order to use the functionality of an end screen, namely the different elements.
To find the sweet spot for outro length, however, you’ll have to match it up with your goal. Too short and they won’t have time to follow the prompts. The ideal length is usually somewhere between the last five and ten seconds of your end screen.
So what do we mean by “Matching up your outro with your video goal?”
Check out #2 in the best practices section below!
Best practices
 If you’re ready to rush off and start creating outros for all your YouTube videos, hold your horses for just a few paragraphs longer. Beyond just the technical requirements, there are certain nuances you need to understand in order to execute at a high level.
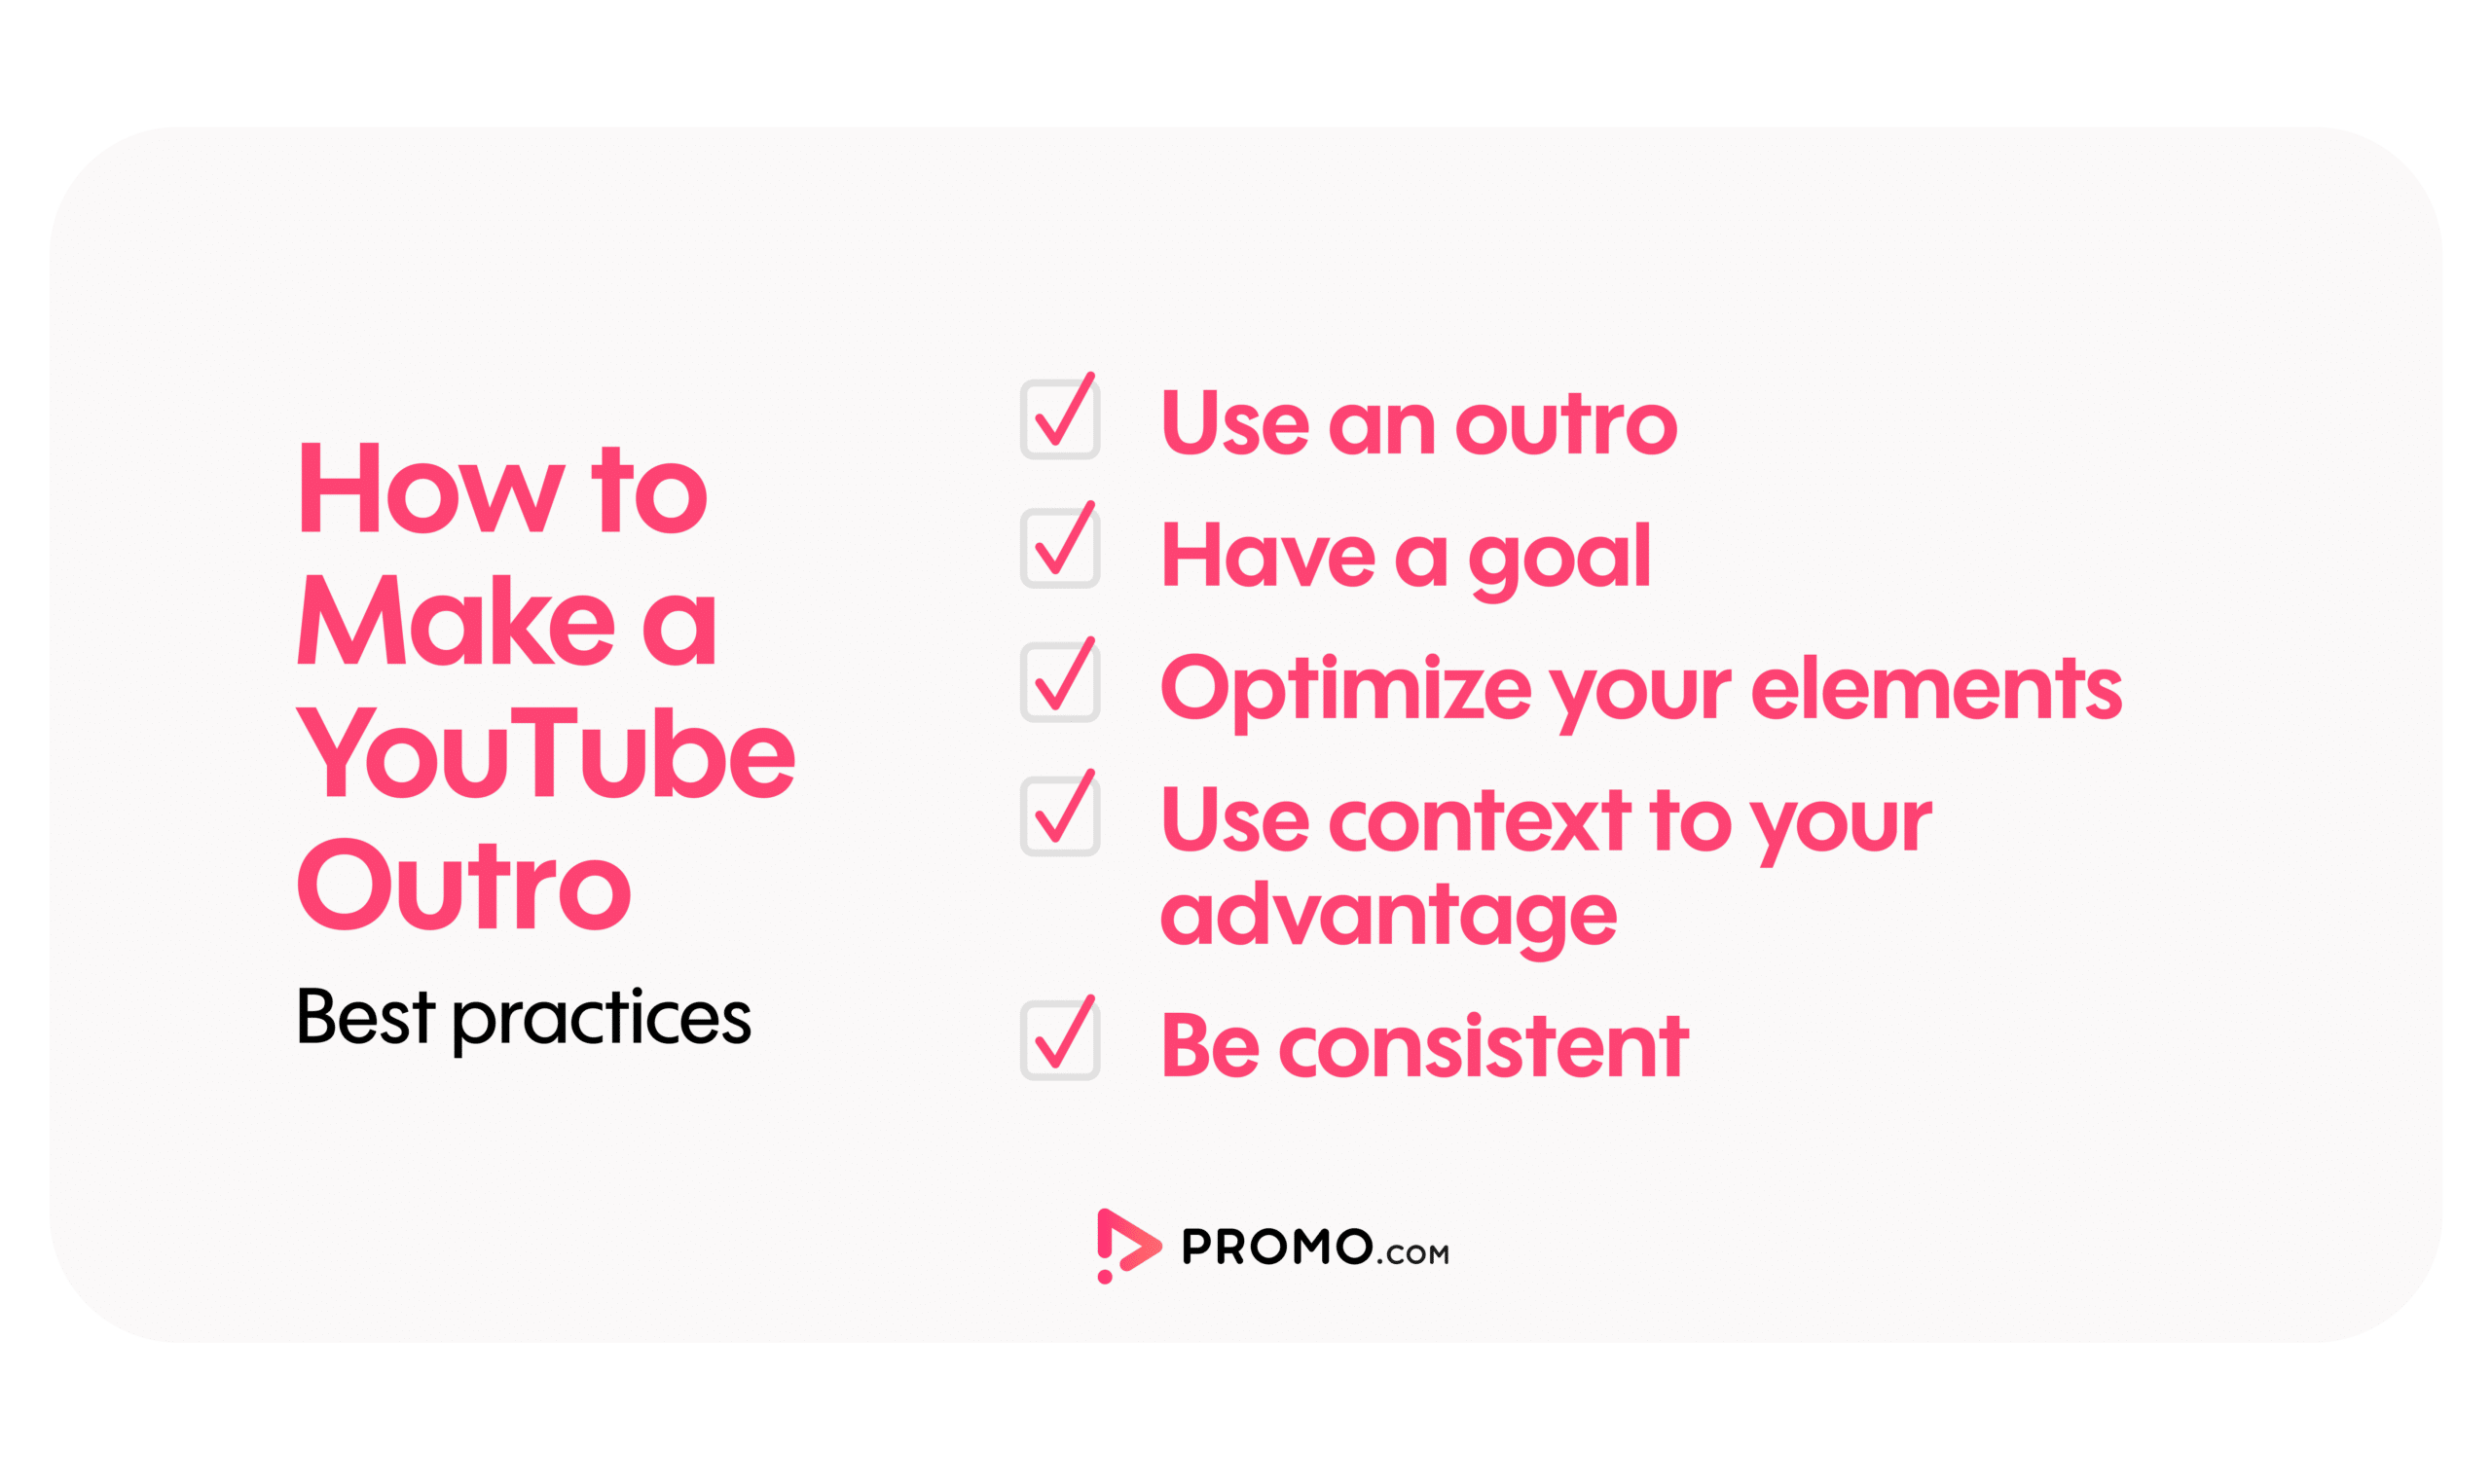
Here are our (ranked) YouTube outro best practices:
1. Use an outro
OK, this may sound painfully obvious, but the first step to getting the most out of your YouTube end screens is to actually use on in the first place. Every video you post that doesn’t contain a properly formatted, strategically designed, and perfectly optimized end screen is a missed opportunity for you to grow your business with YouTube.
2. Have a goal
YouTube end screens allow you to use up to four different elements in your outro. This means technically, you can have four different CTAs. The question is:
Which action drives the most benefit to your business?
Is it subscribing to your channel, or visiting an external web page? This matters because even though YouTube allows you to use more than one call-to-action, it’s unlikely that your viewers will take more than one action at a time. Think through your various goals for your YouTube content and rank them by priority before you start to record your outro(s).
3. Optimize your elements
Each element has a few different customization options.
The first is placement—you can drag your elements to different areas of your video screen.
Pro tip: Click the grid icon in the player to display a grid over your video content. Use the gridlines to make sure your elements are lined up properly to create a visually pleasing alignment. You can even toggle on the ‘snap to grid’ feature to make it easier to line up your elements.
Next is timing—all your elements will display at the same time by default, but you can change the timing of each one by using the arrows to drag it on the end screen row of the video editor.
Lastly is type—you can display up to four elements, but if you want to zero in on your goal (see Step #3), you may choose to only use certain types of elements on your outro. Or, you may customize several different outros to be paired with related videos.
This brings us to context…
4. Use context to your advantage
Probably the biggest difference between effective outros and amateur ones is the use of context.
The first way you can use context is by having the video content ‘interact’ with the different elements. This could involve the subject of your video pointing to a specific element and verbally (and visually) directing the viewer to take the desired call to action; whether that’s to click a link, watch a related video/playlist, or subscribe to your channel.
The other way to use context is to pair up the content of the video with the content of the elements. For instance, if it is important that your viewers watch your videos in order, it probably makes more sense to use the playlist element than it goes to direct them to an external link.
Or, if the goal of your videos is lead generation, it’s vital that your outro directs the audience toward an external link and encourages action by using benefits-driven messaging. What will they get when they click the link? How will your resource solve their problem?
Context is key!
5. Be consistent
As you’re creating multiple outros for different video types, be sure to keep some things consistent, namely your brand colors, fonts, logos, and editing styles. This adds professionalism to your channel and helps build your brand identity as people begin to know what to expect when they watch videos on your channel. Once the viewer is done watching your content, the end screen is almost a first impression with your brand and/or channel, so make it count.
Find ideas with Promo.com templates
At this point, we hope you have some great ideas for your YouTube outros. If you’re still looking for a bit of inspiration, however, why not head over to the video templates section of our online video editor and see some examples?
For example, one way to create a killer YouTube outro that really focuses on your various CTAs is to just use a simple background like this:
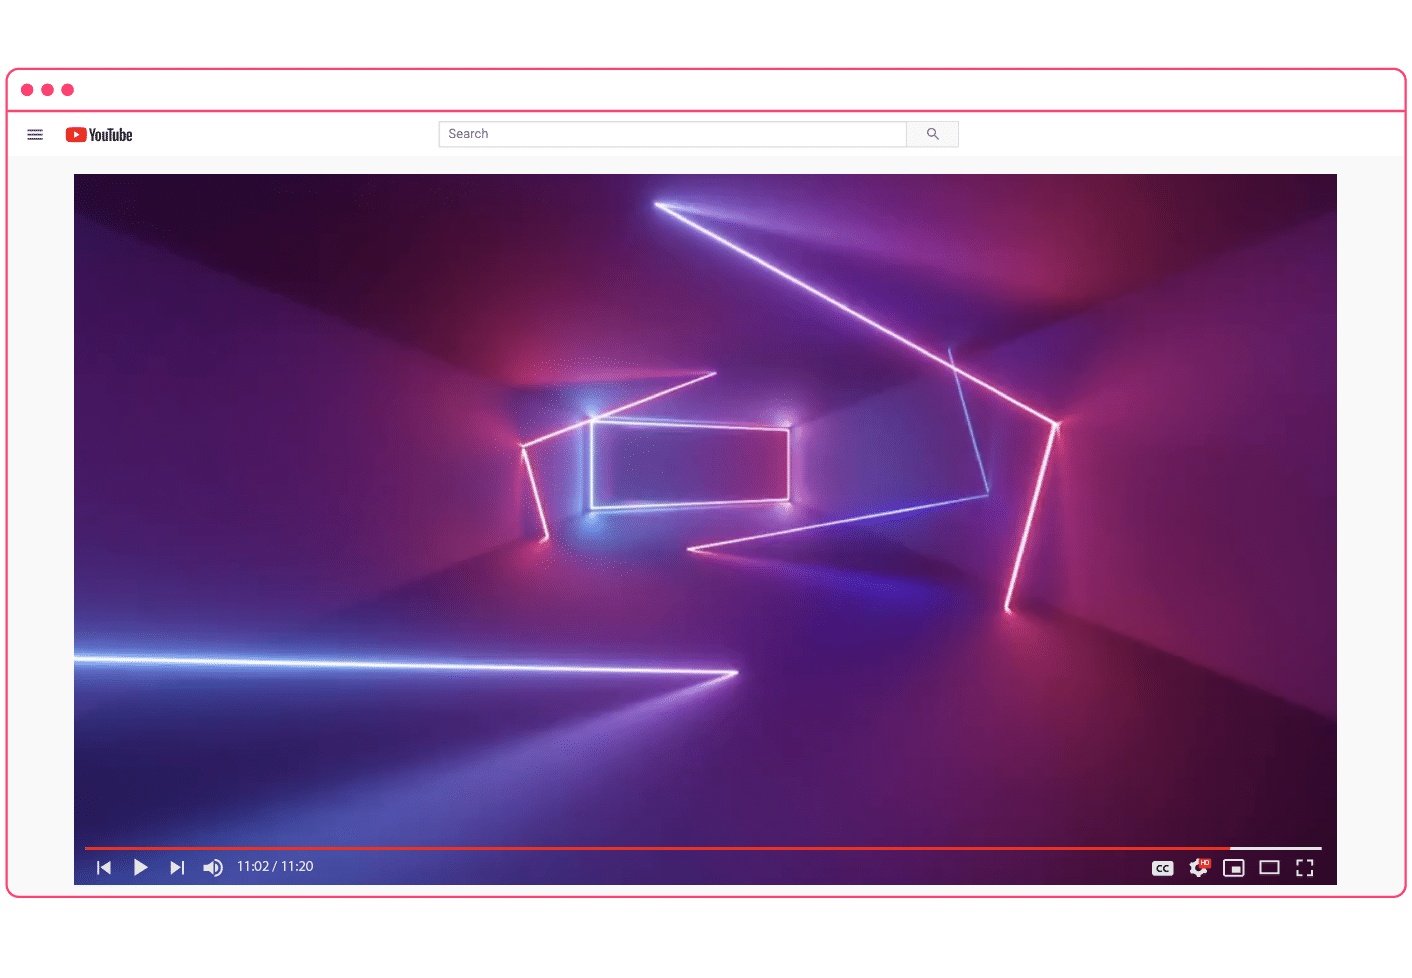 Just search the Promo.com template library for “background” and find high-quality footage that works for your brand—it’s a virtual buffet of outro templates.
How to add an outro to a YouTube video
Now that you have a thorough understanding of all the specs, strategy, and best practices of outros, it’s time to add one to your existing YouTube videos. It’s a really simple process, but it helps to have some familiarity with the YouTube Studio.
Step 1 – Access your videos
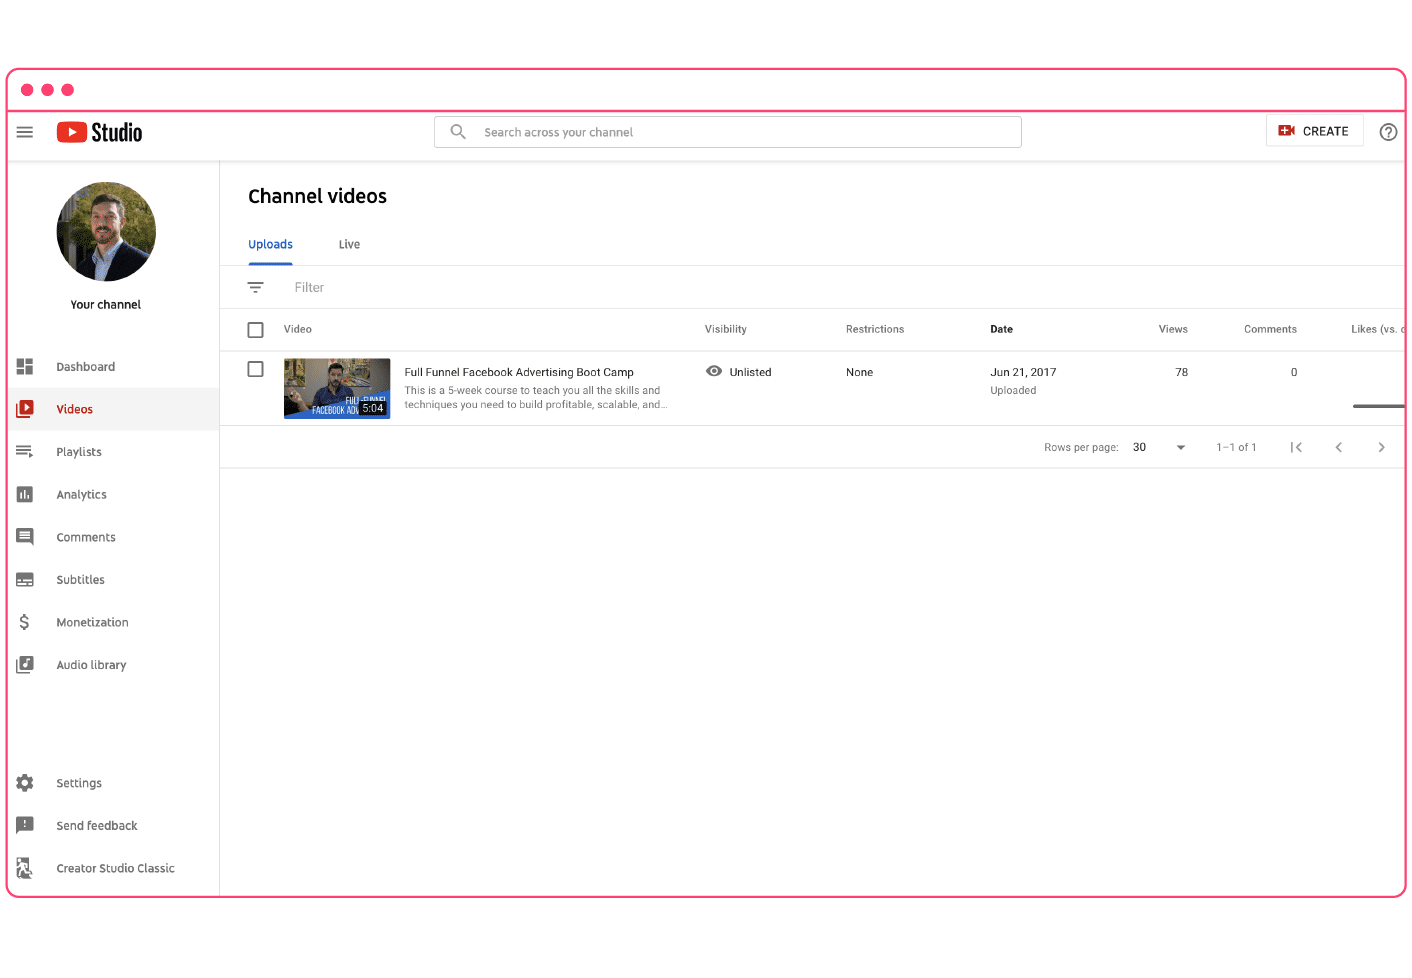
Log in to YouTube and head over to your channel. From there, use the sidebar on the left side of the screen to access your videos. Use the pencil icon to edit your video details.
 Step 2 – Open the end screen editor
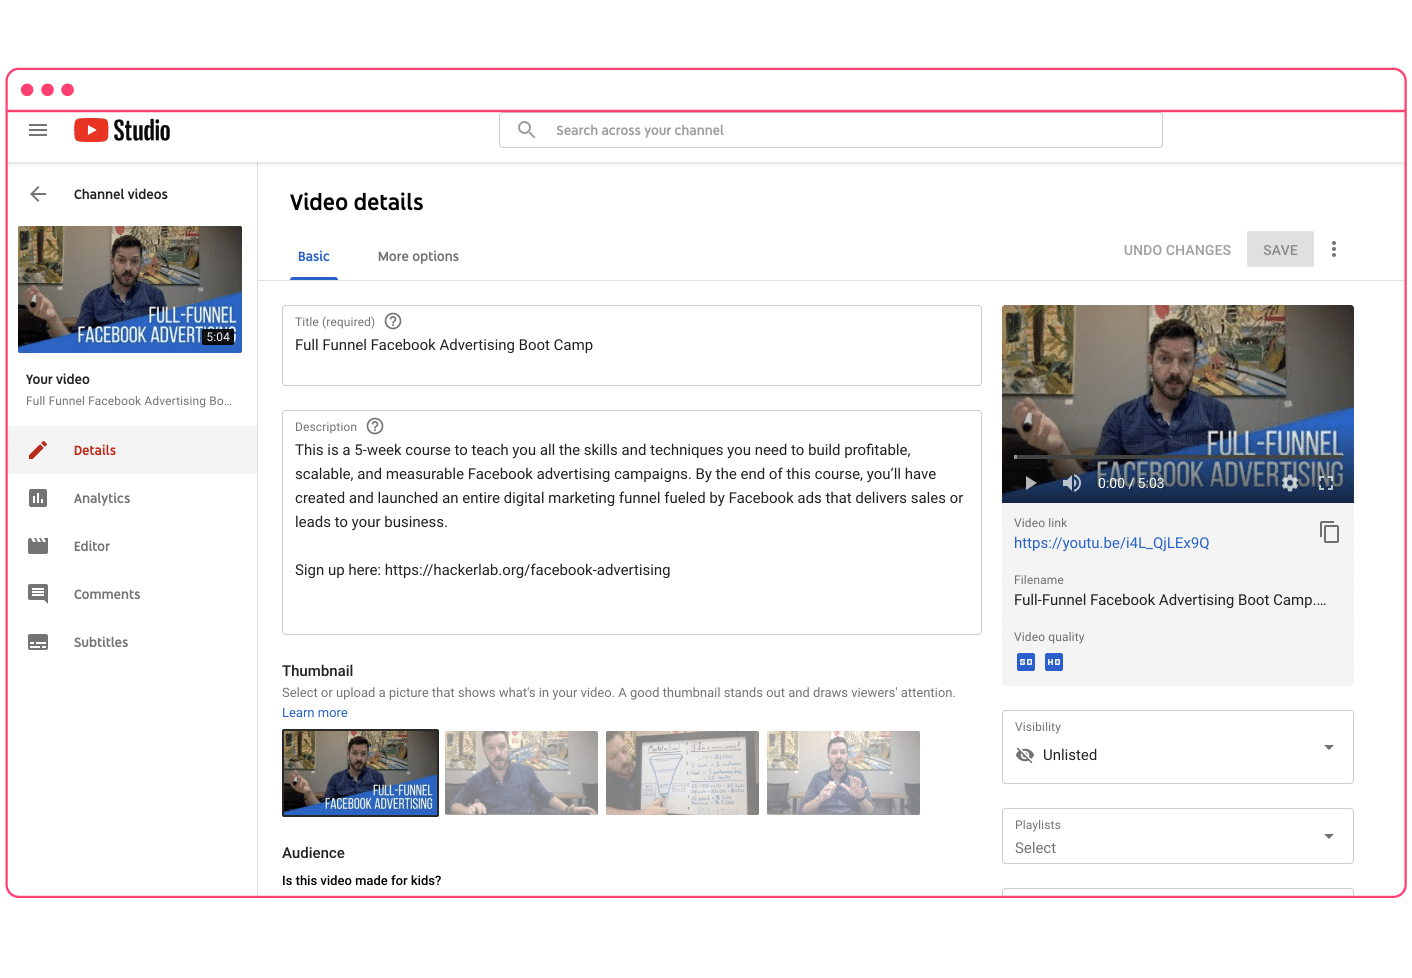 Navigate to the end screen button on the right side of the screen and click. This will open a new browser tab.
Step 3 – Add elements
Next, start adding your desired elements to your end screen. Click the blue button on the top right to choose from the list of available elements.
Note that you have the ability to adjust the length of time the element stays on the screen, and also when it appears. These are all adjustable.
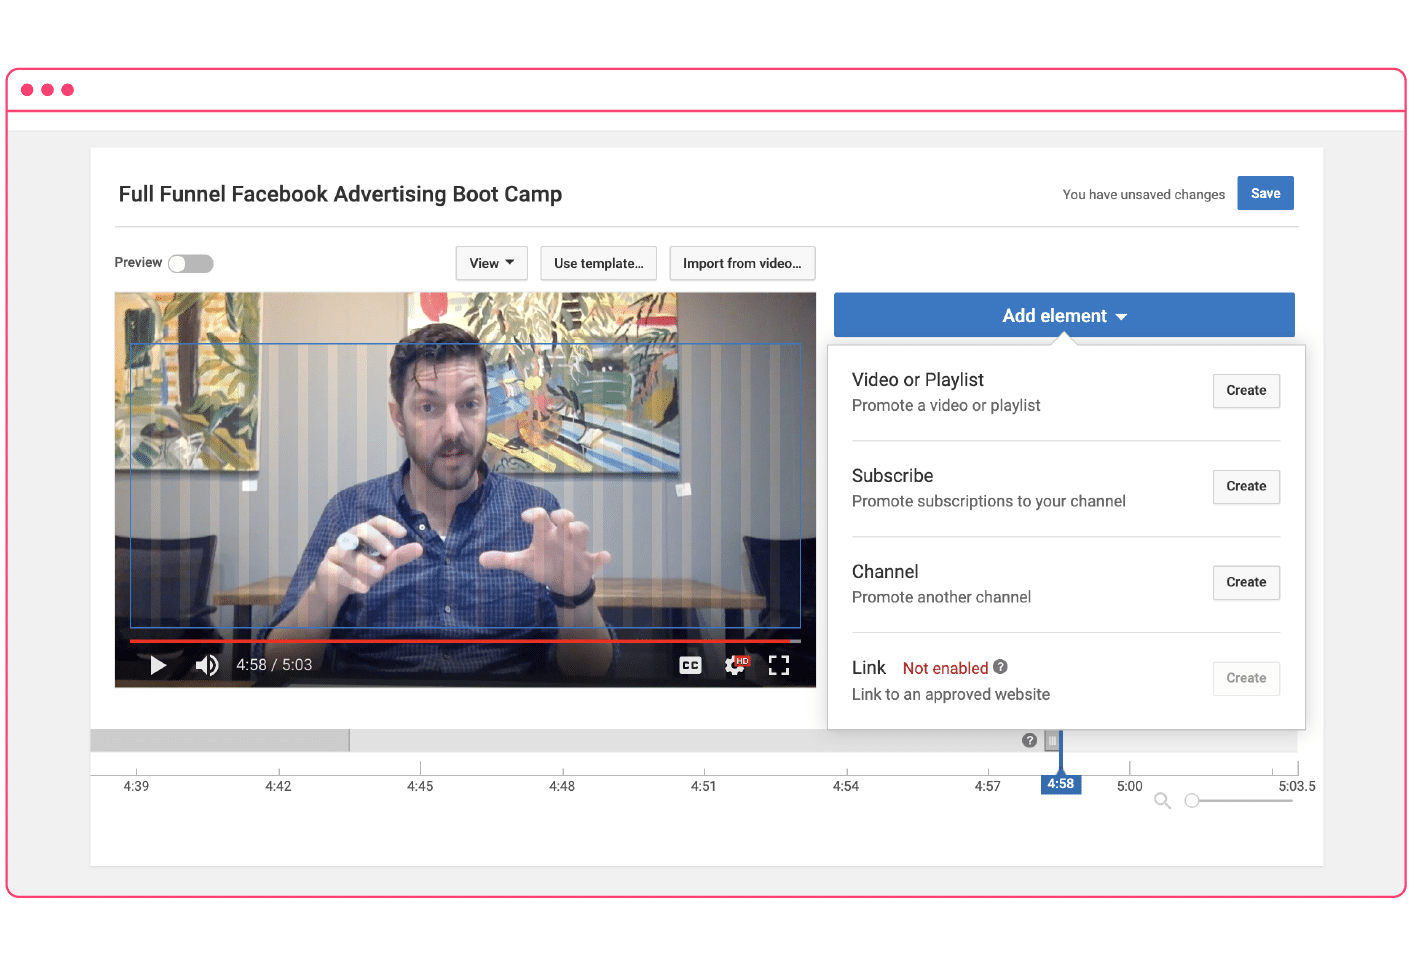
Or, you can use a template provided by YouTube. Hit the save button and you’re done!
And that’s how to make an outro for YouTube! If you have any questions, we have a fantastic support team at Promo.com, as well as an extensive knowledge base to help make your videos a success.
Ready to get started? Give Promo.com a try for free today!
How to make a YouTube outro with Promo.com
Do you have some YouTube videos on your channel that you’d like to add outros too? Here’s a quick-and-easy method for adding end screens to your videos with the Promo.com YouTube outro maker.
Step 1 – Import your video file into Promo.com
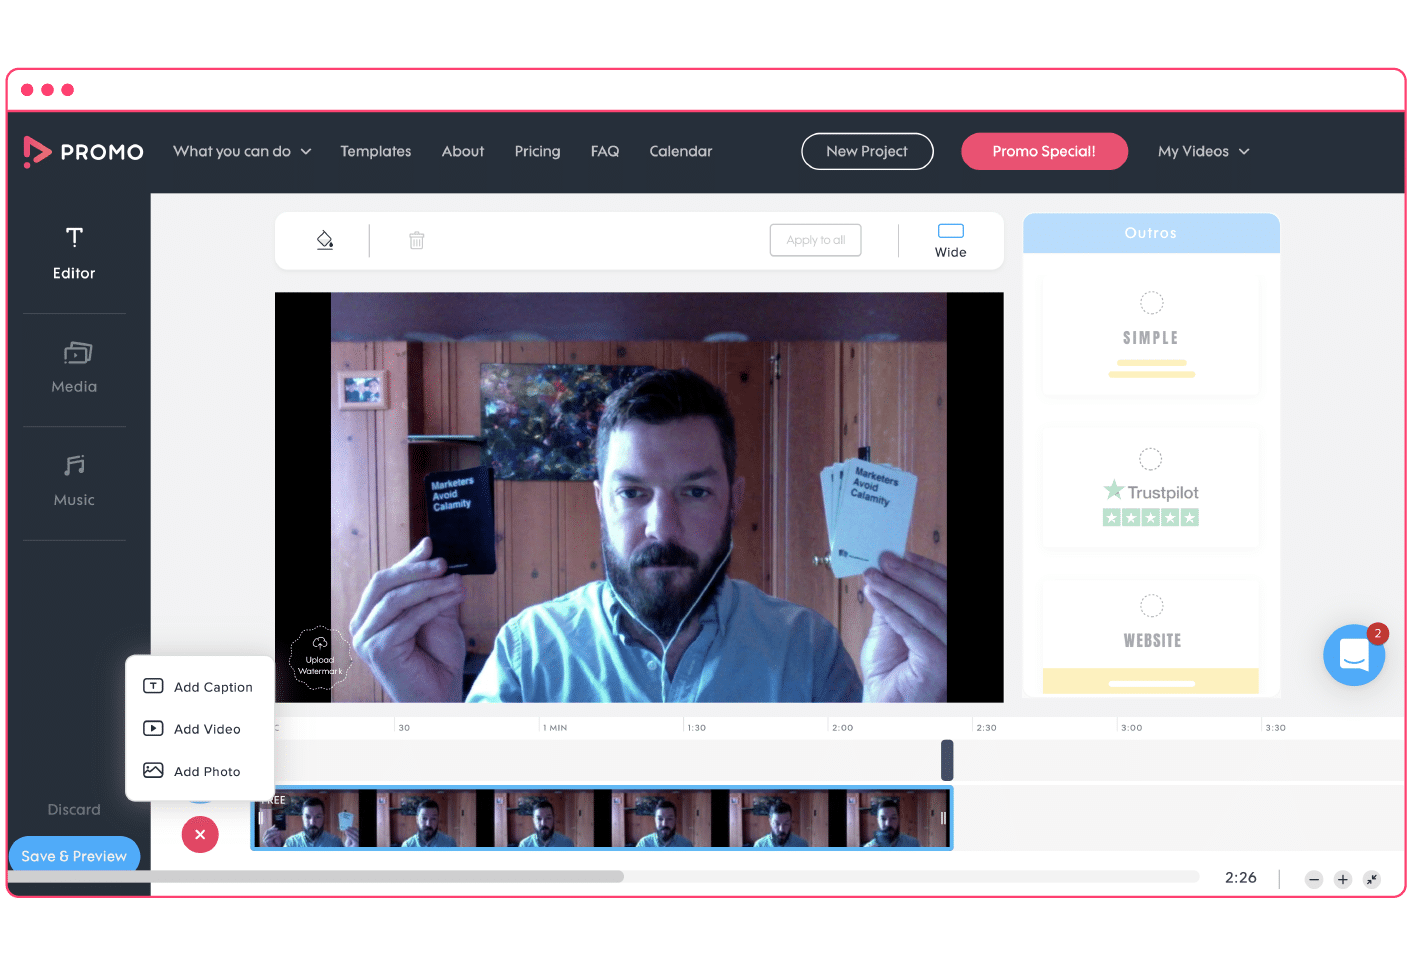
Log into your Promo.com account and head over to the video editor. From either the search screen or the editor, click the “Upload” button and import your video file.
 Step 2 – Add an end screen
Next, just hit the plus button in the editor and search for the clip you want to use as your outro. Search our premium footage library for the clip you’d like to use as your outro, or upload your own.
Let’s use our simple backdrop from the previous section. Click “Use” to add it to your video project.
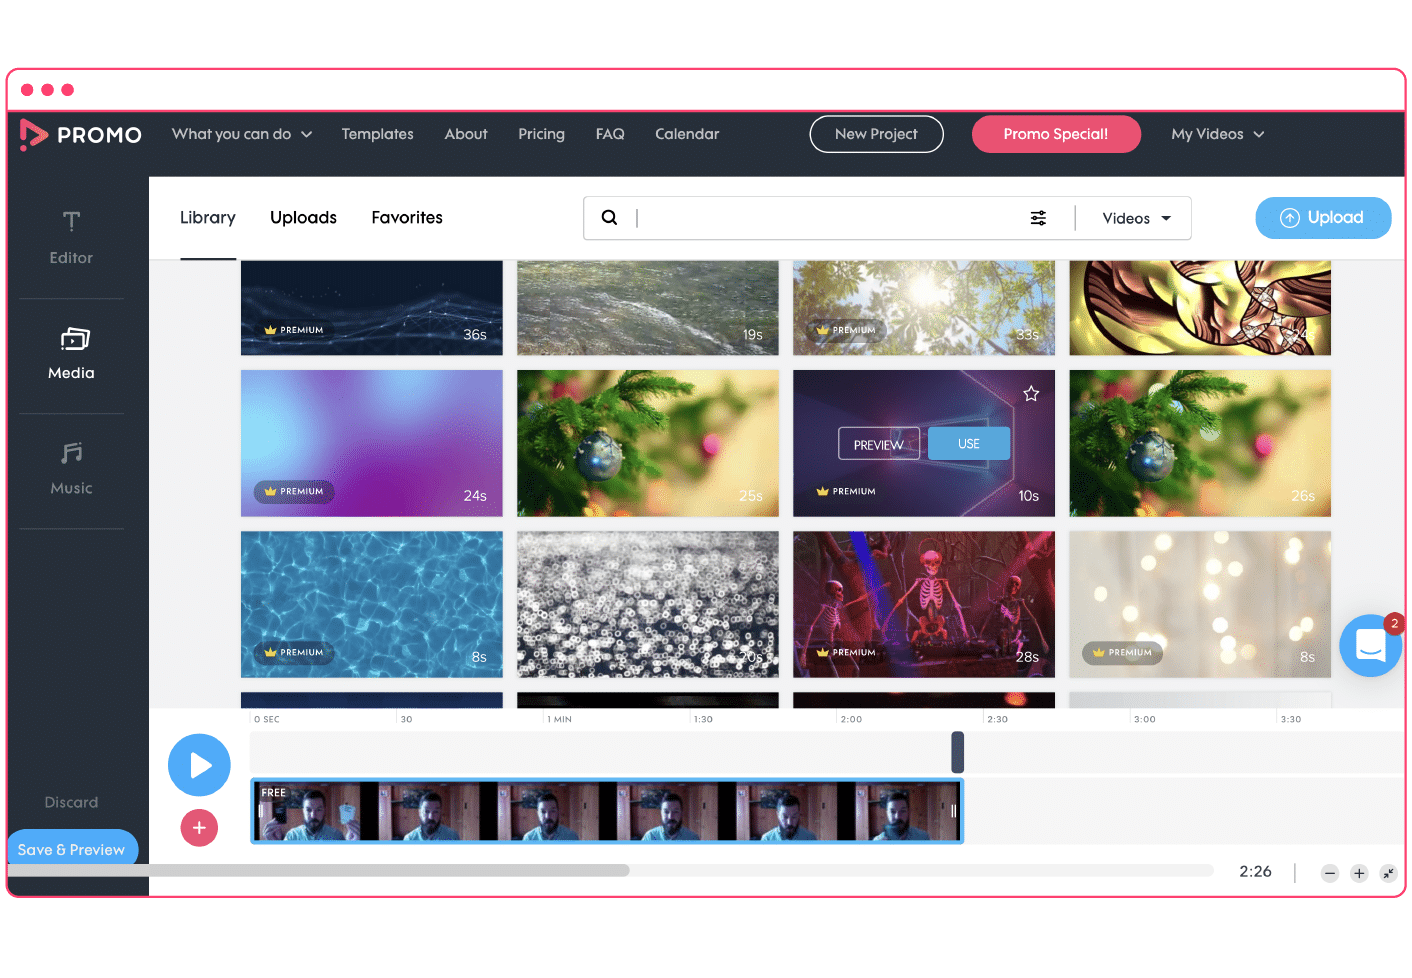
Step 3 – Animations and transitions
Finally, make sure to add a transition between the two clips to keep things smooth and professional.
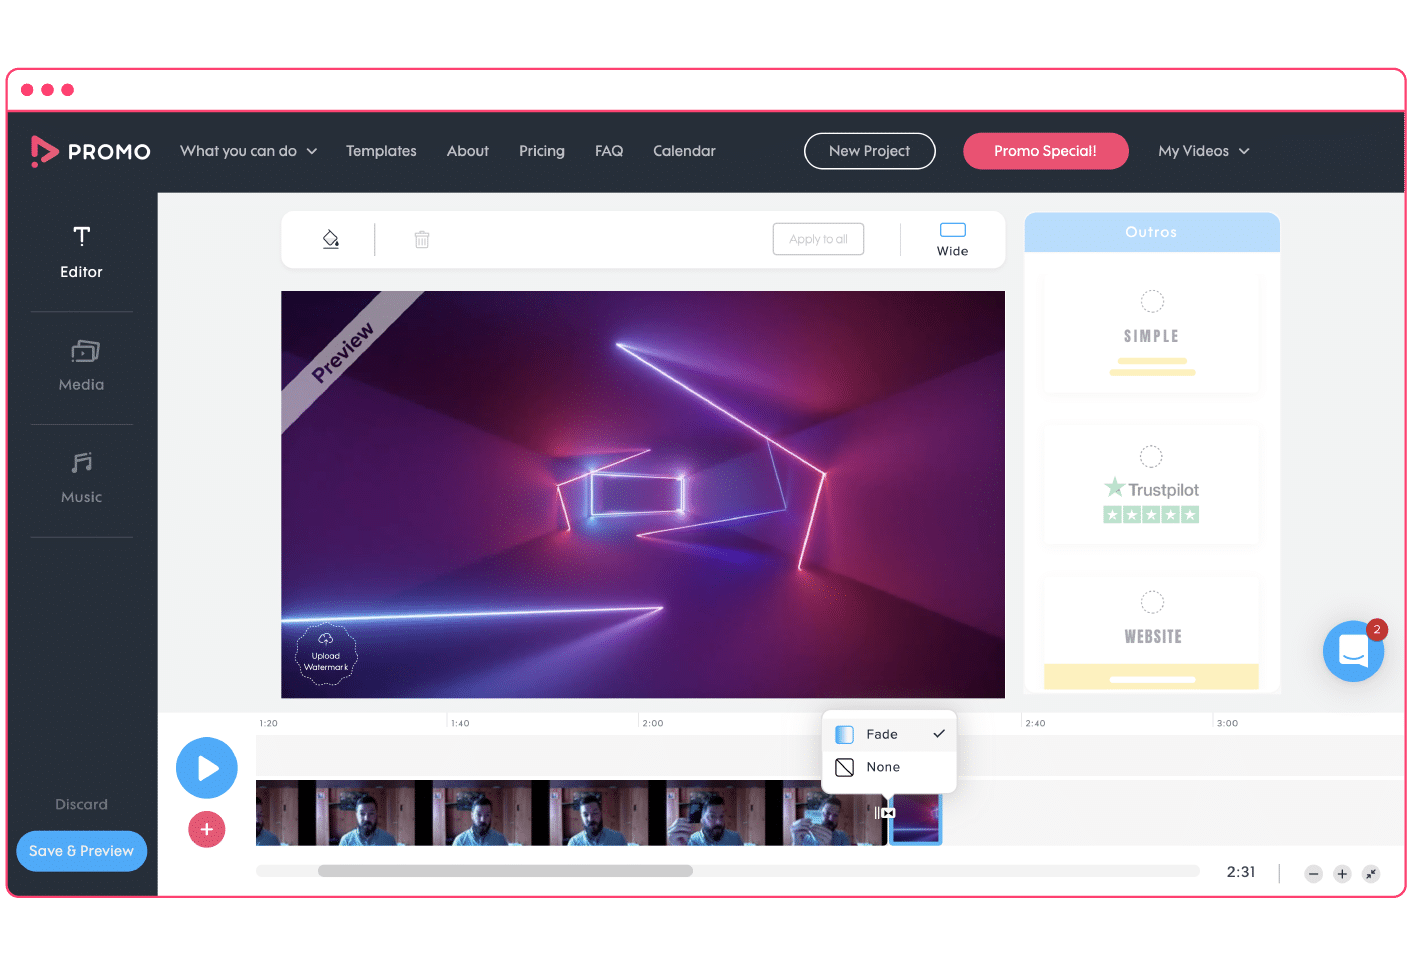
You can also add animations on the screen or even text. Keep in mind, however, that you’ll need some room for your YouTube elements.
Don’t forget to add some royalty-free music to your outro if it fits with your video. Now that you’ve mastered the art of creating a YouTube outro, time to think about how to start your videos by learning how to create a great YouTube intro!
Happy YouTubing!
